
The system I'm building on $150

Thread Starter
2000 Watt CAFz'r
Joined: Jan 2001
Posts: 2,026

^^^ Surrey is known for people of a less than quality nature. Not that everyone from there is like that. I have two employee's from there, nice guys. But there is a criminal element if you will, a certain drug culture, a reputation (burnt bridge) that never goes away! Kevin is just being himself (he's originally from there).
Thread Starter
2000 Watt CAFz'r
Joined: Jan 2001
Posts: 2,026
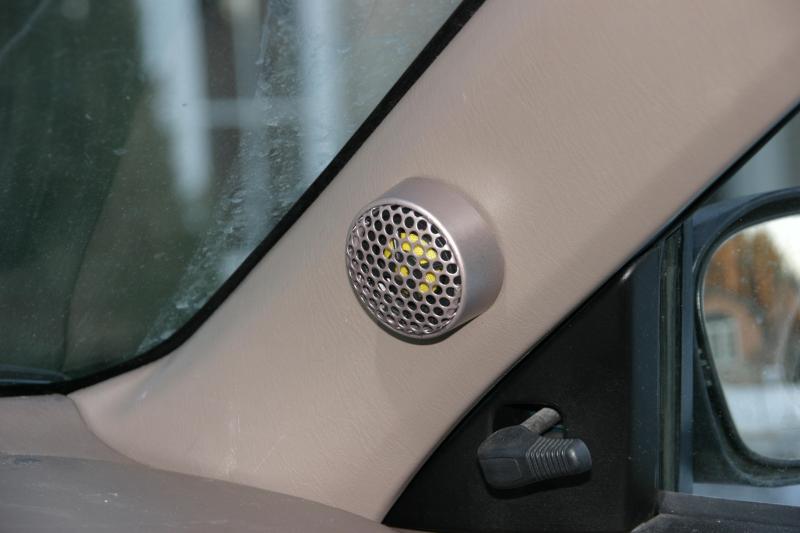
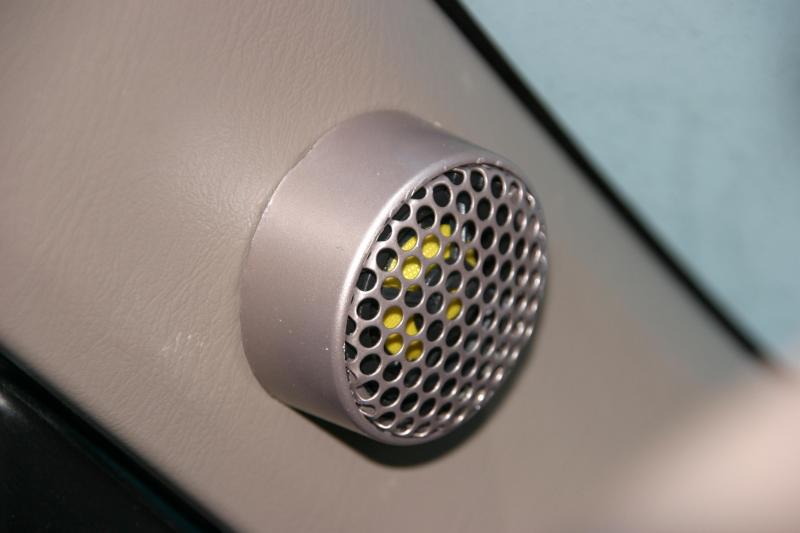
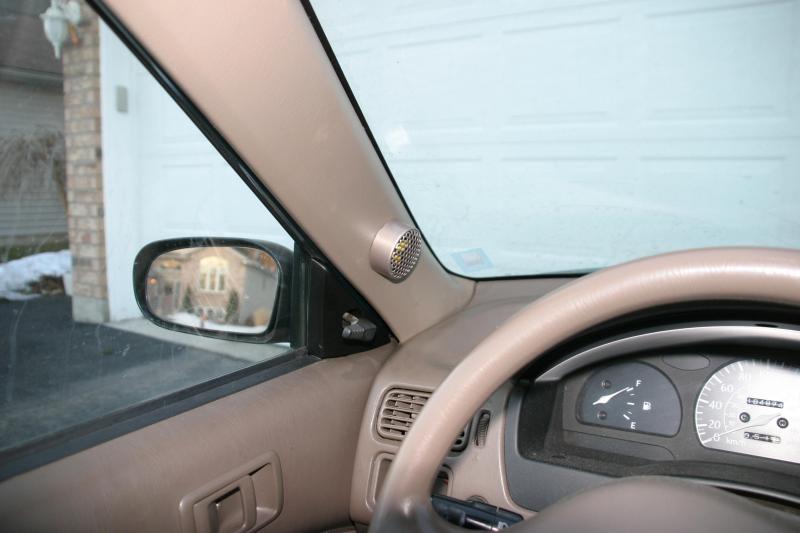
I had some time last week to install the tweeters. The tweeters aren't aimed as I am not willing to try fibre glass quite yet . . . I want warmer weather and perhaps an experienced hand to help me, so they are just surface mounted on the A-pillars.
Yet, I still wanted them to blend in with the interior of the car. I spent about 1/2 an hour in the paint aisle of Canadian Tire with a piece of trim that has been faded by 12 years of sun exposure looking for a good match. So the colour isn't perfect, but I'm pretty happy with the colour match as now.
So here are some pictures for those of you who think


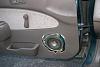
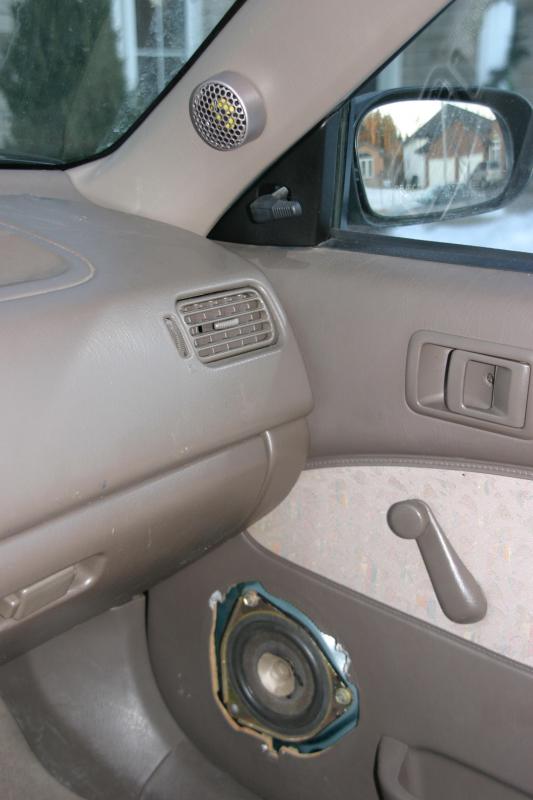
And here are some shots of what I'll need to work on next: Enlarging the current speaker locations which are home to 4.5" speakers to fit my 6.5" mids . . .

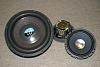
And just for fun, here are the remaining speakers that are waiting for installation.
Yet, I still wanted them to blend in with the interior of the car. I spent about 1/2 an hour in the paint aisle of Canadian Tire with a piece of trim that has been faded by 12 years of sun exposure looking for a good match. So the colour isn't perfect, but I'm pretty happy with the colour match as now.
So here are some pictures for those of you who think
And here are some shots of what I'll need to work on next: Enlarging the current speaker locations which are home to 4.5" speakers to fit my 6.5" mids . . .
And just for fun, here are the remaining speakers that are waiting for installation.

50 Watt CAFz'r
Joined: Dec 2008
Posts: 229
clean install maltesechicken, but SQmonster is right about the exposed RCAs. i had mine stick out slightly from the second row seats in my minivan... big mistake, had to replace the them because they got stepped on and snapped, not to mention it didnt help that my friend kept messing with them before either. for a budget install though, i like it, especially the fact that you got most things broken and fixed them yourself saving money in the end!
Thread Starter
2000 Watt CAFz'r
Joined: Jan 2001
Posts: 2,026
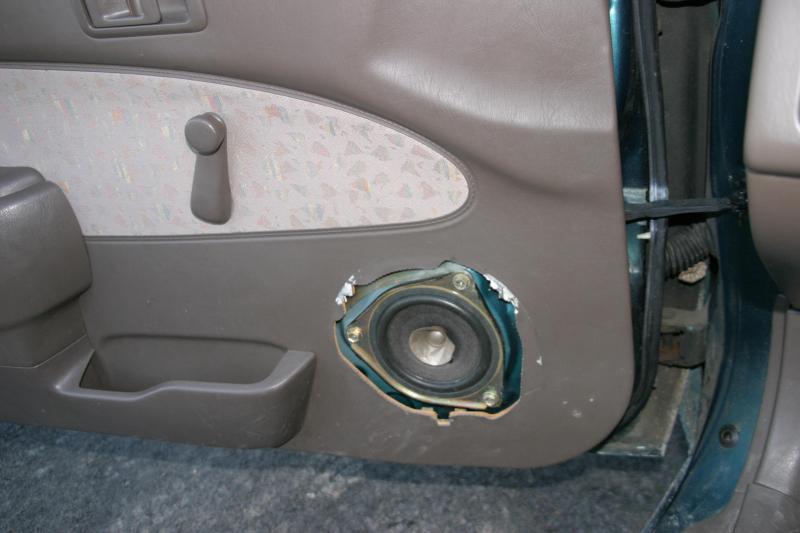
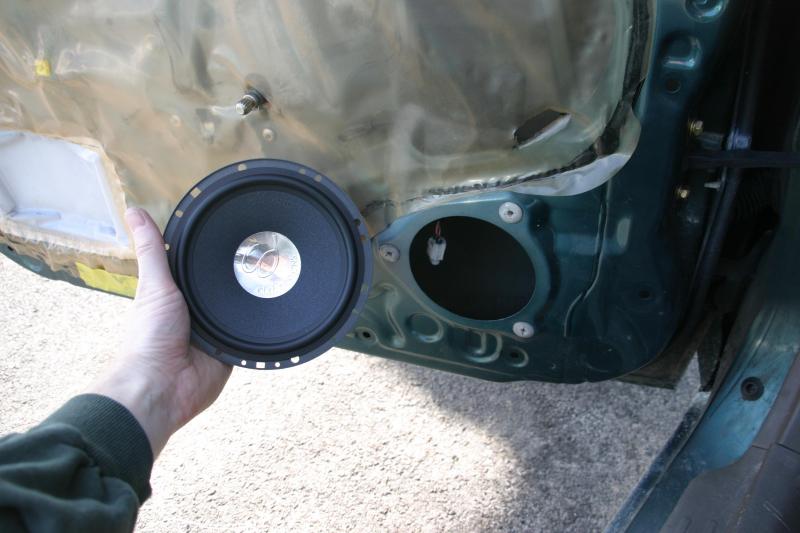
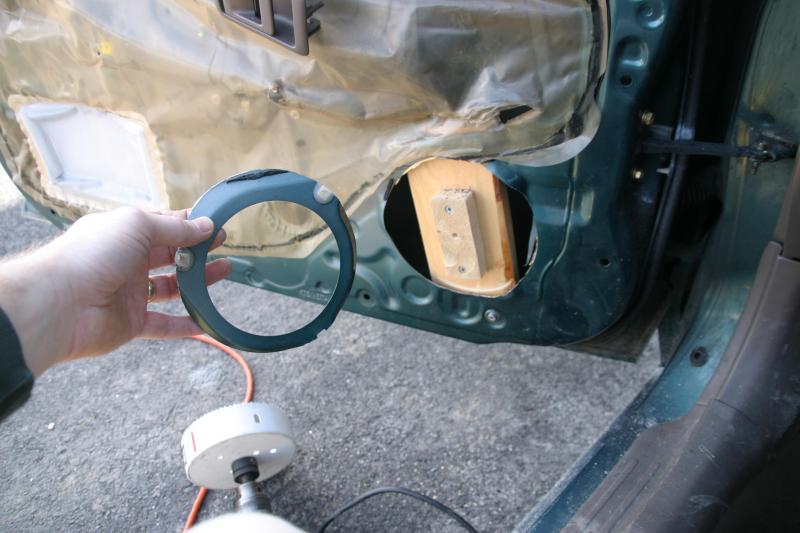
I had some time this afternoon and I started to work on my doors. The door panel came off with relative ease - Just 3 screws and a whole whack of button clips (if I can call them that - grommet type snaps) Here is the the small hole that needs to become the home to my 6.5" mid.

There is no hope of this mid fitting in this location without some modification.

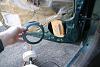
A friend recommended that I use a hole saw for this cut and he lent me his 6" hole saw. I've used hole saws before - but only on wood. My only experience with cutting metal thus far has using a jig saw or a hack saw. I was apprehensive as to how this would go, but I figured nothing ventured, nothing gained. I assembled this little block of wood to act as a guide for the drill bit.
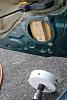
WOW! I was shocked at how fast that went! I think it was between 1 and 2 minutes of actual cutting time! Substantially faster than my trusty 'ole jig saw would have done that. And I thought that the teeth on the hole saw would have had some signs of wear from drilling through 2 doors, but the teeth looked as good as new! Thank you Rob for the hole saw suggestion and lending me your saw!
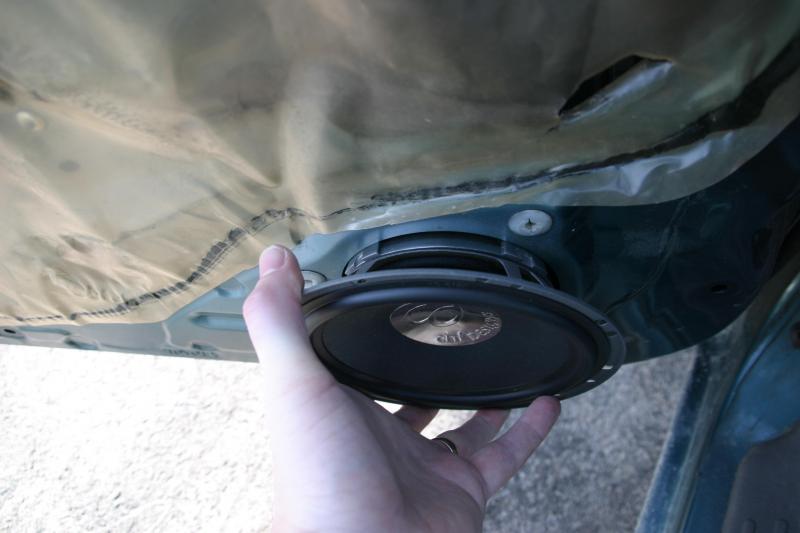
After the door has been modded, I tested for mounting depth. It's hard to see in this picture, but I need at least a 3/8" baffle for the mid to clear the window while it is down.

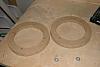
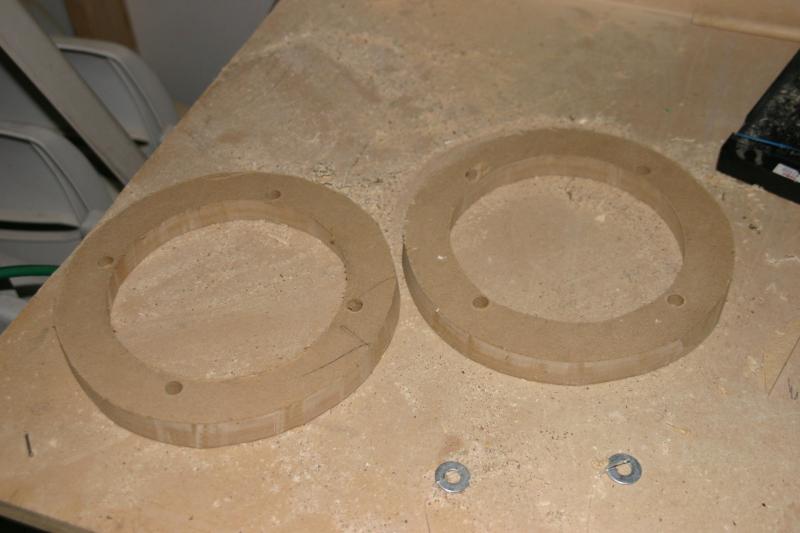
So here are my rough baffle rings 3/4" MDF which should leave a 3/8" space between the back of the mid and the window when it is down.
Now here is my question for the pros:
MDF HATES moisture. With will be mounted in a door so it is likely to get wet. What are my options to protect this baffle ring from water? One person has suggested fibre-glass . . . that's a lot of work, and won't work that well in cooler weather (I want to finish this soon)
Are there other options? One thought I had was to slather the inside of the ring up with caulking as a moisture barrier. Any thoughts?
Thanks,
Ryan
There is no hope of this mid fitting in this location without some modification.
A friend recommended that I use a hole saw for this cut and he lent me his 6" hole saw. I've used hole saws before - but only on wood. My only experience with cutting metal thus far has using a jig saw or a hack saw. I was apprehensive as to how this would go, but I figured nothing ventured, nothing gained. I assembled this little block of wood to act as a guide for the drill bit.

WOW! I was shocked at how fast that went! I think it was between 1 and 2 minutes of actual cutting time! Substantially faster than my trusty 'ole jig saw would have done that. And I thought that the teeth on the hole saw would have had some signs of wear from drilling through 2 doors, but the teeth looked as good as new! Thank you Rob for the hole saw suggestion and lending me your saw!
After the door has been modded, I tested for mounting depth. It's hard to see in this picture, but I need at least a 3/8" baffle for the mid to clear the window while it is down.

So here are my rough baffle rings 3/4" MDF which should leave a 3/8" space between the back of the mid and the window when it is down.
Now here is my question for the pros:
MDF HATES moisture. With will be mounted in a door so it is likely to get wet. What are my options to protect this baffle ring from water? One person has suggested fibre-glass . . . that's a lot of work, and won't work that well in cooler weather (I want to finish this soon)
Are there other options? One thought I had was to slather the inside of the ring up with caulking as a moisture barrier. Any thoughts?
Thanks,
Ryan


50 Watt CAFz'r
Joined: Jan 2007
Posts: 221
I am really impressed at this entire thread. The fact that your taking nothing, and making something (especially with electronics, which isn't easy) is awesome. You should really consider doing installs on the side for some extra cash. I'm sure it's something that you enjoy, and I bet the wife wouldn't mind too much as long as your making coin.
On another note, I'm really curious to how those Cliff Design speakers work. I currently have a component setup in the front, but I'm considering replacing it. I don't like spending a obscene amount of money if there is no REAL value in it. If I have great sound quality, and I'll only get a bit better then that but spend heaps more, theres no real sense. I'd love to hear how that setup works from you! Keep it up bro.
On another note, I'm really curious to how those Cliff Design speakers work. I currently have a component setup in the front, but I'm considering replacing it. I don't like spending a obscene amount of money if there is no REAL value in it. If I have great sound quality, and I'll only get a bit better then that but spend heaps more, theres no real sense. I'd love to hear how that setup works from you! Keep it up bro.
Administrator


Joined: Feb 2006
Posts: 16,860
I generally paint wood with fibreglass resin to make it water resistant. I add milled fibers and cabosil to it so it doesn't crack and flake so easily.
BRG's suggestion of a couple of heavy layers of paint works too.
BRG's suggestion of a couple of heavy layers of paint works too.


