First glassed box, for mazda 3

Thread Starter
50 Watt CAFz'r
Joined: Apr 2006
Posts: 359

Thread Starter
50 Watt CAFz'r
Joined: Apr 2006
Posts: 359
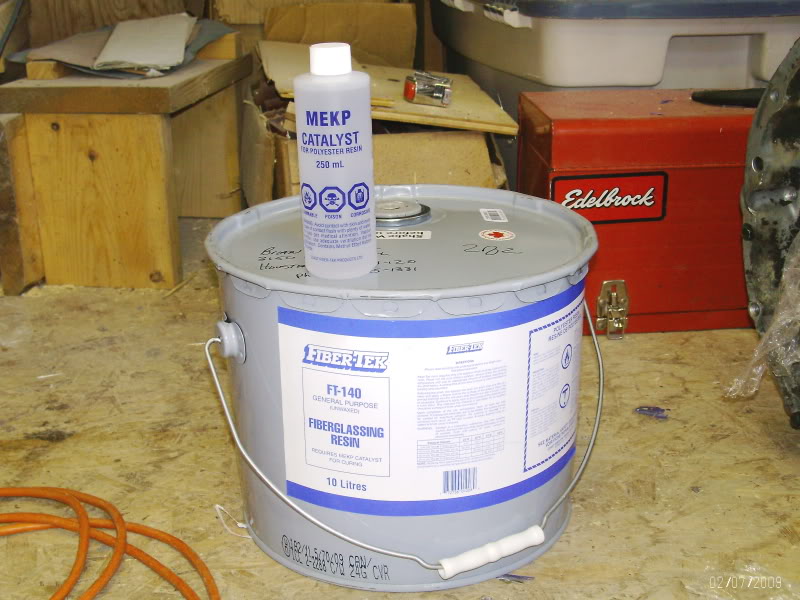
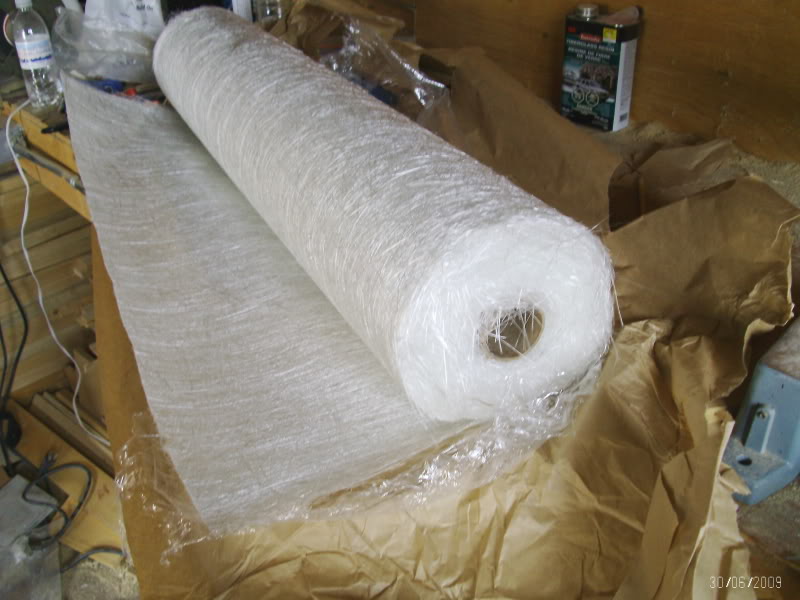
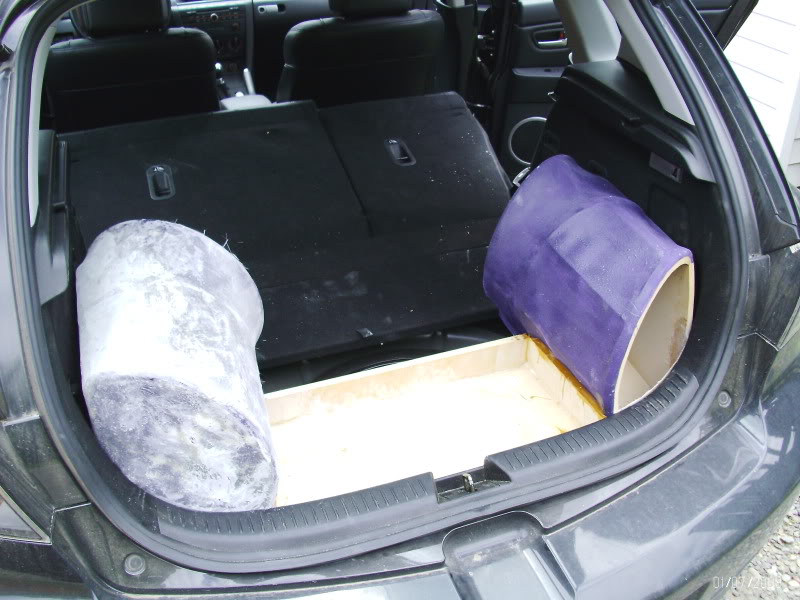
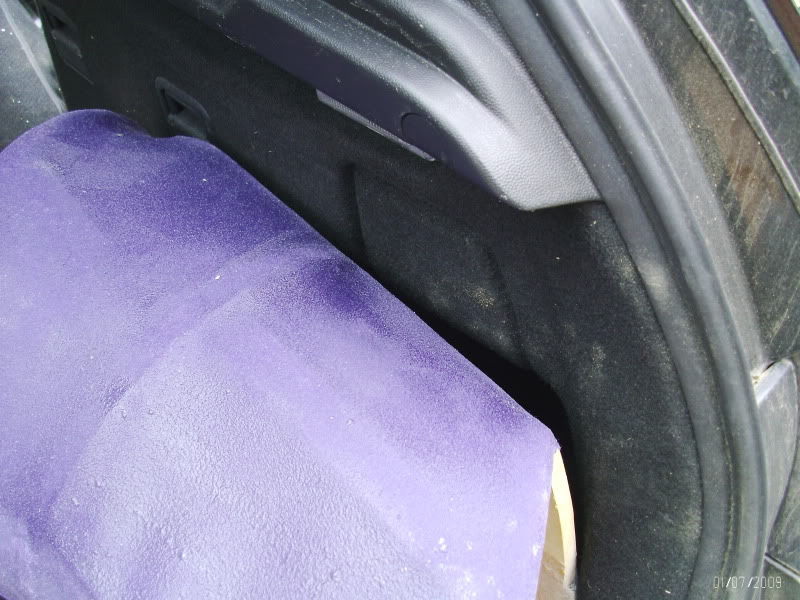
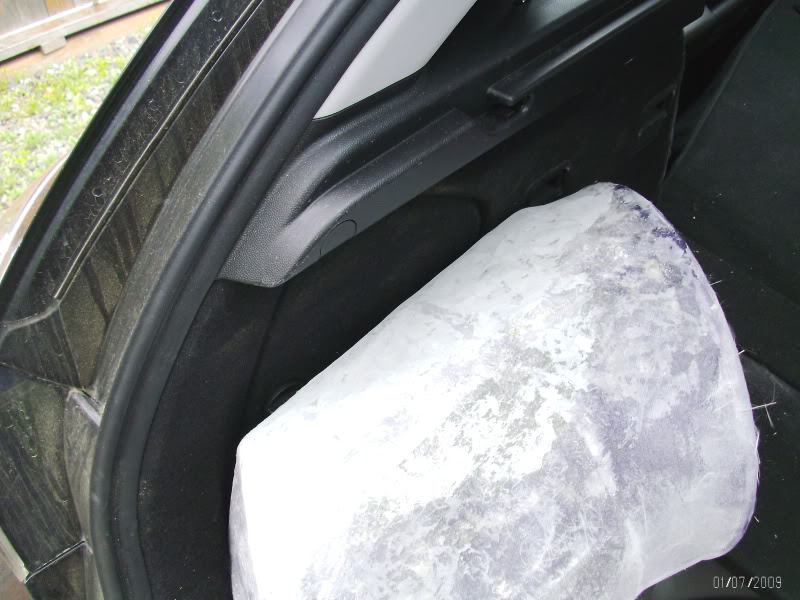
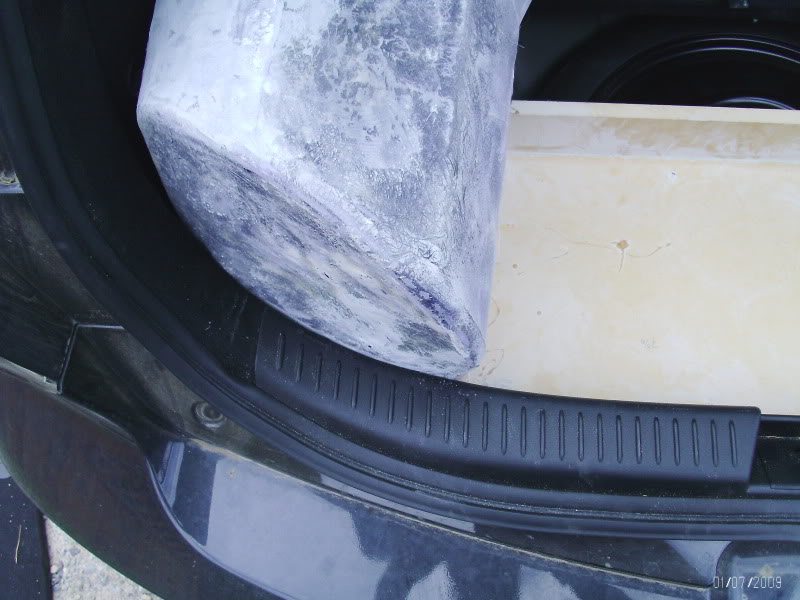
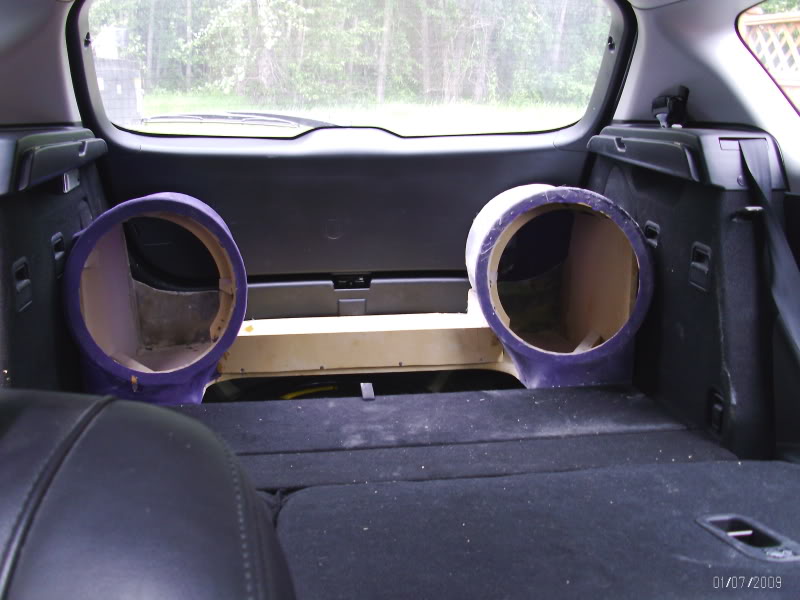
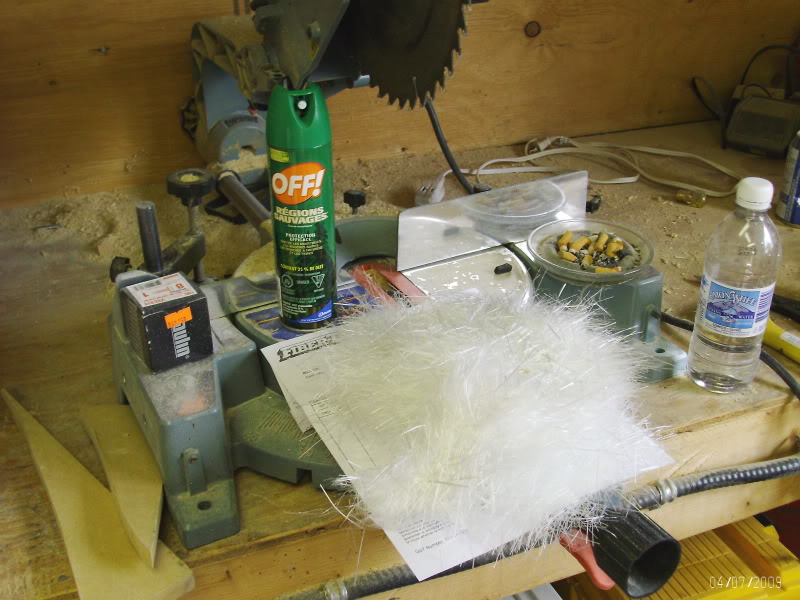
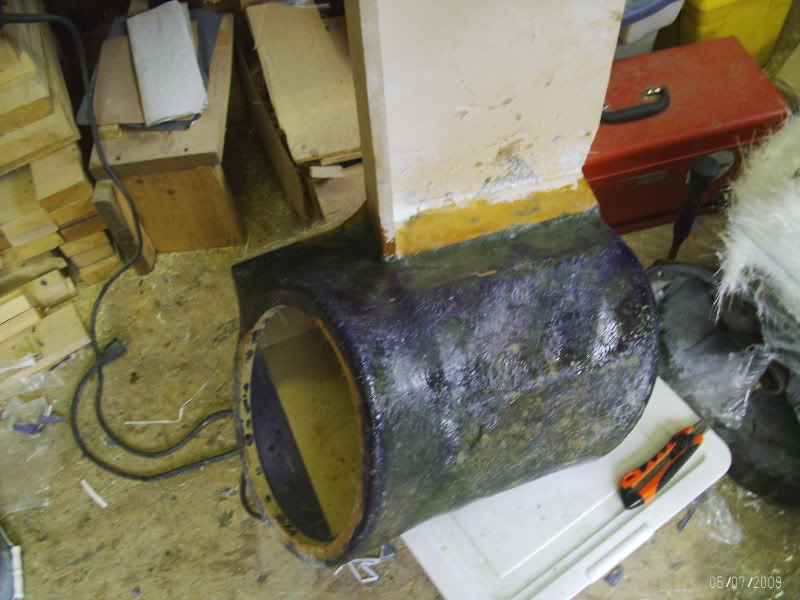
finally got my resin and fiber mat a couple days ago. I got a 50 yard roll of 3 foot mat, and 10 liters of resin. I also did another test fit in the car before I got to far ahead of myself, everything is fitting good so far, I'll have a couple little gaps to fill in, but nothing serious.
Here are a couple pics that I took the other day
Here are a couple pics that I took the other day
Thread Starter
50 Watt CAFz'r
Joined: Apr 2006
Posts: 359
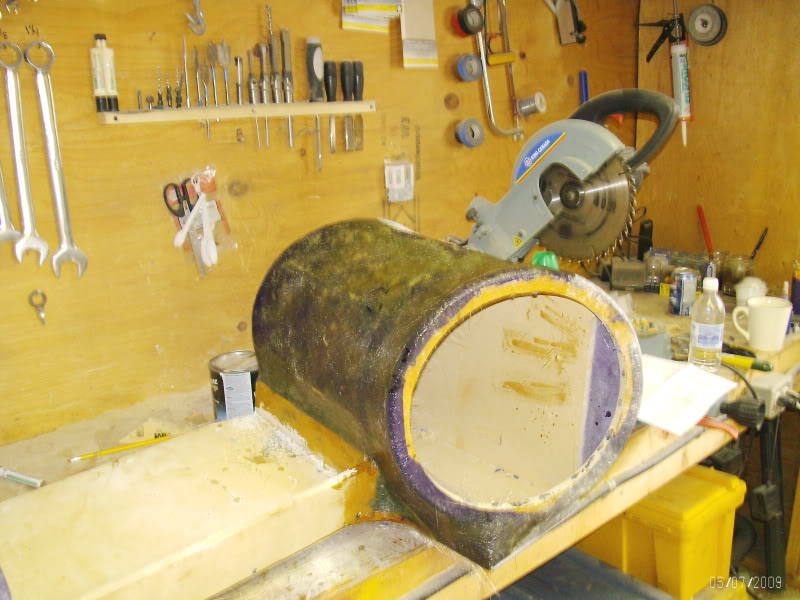
I've been really busy with work the last few days, and went fishing the one day, so I didn't work on it until tonight. I've also decided that I'm going to try my hand at making my own dash kit seeing as I have so much resin and glass matt, I'll see how that goes.
So here are a couple pics from tonights work. I didn't get to much done because of a screw up that could have been totally avoided, but I got stupid. I mixed up some of my old cheap bondo resin to use up the rest. I wasn't paying attention to how hot it accually was outside and mixed the resin to hot, I tried to use it all up, but was way to late.
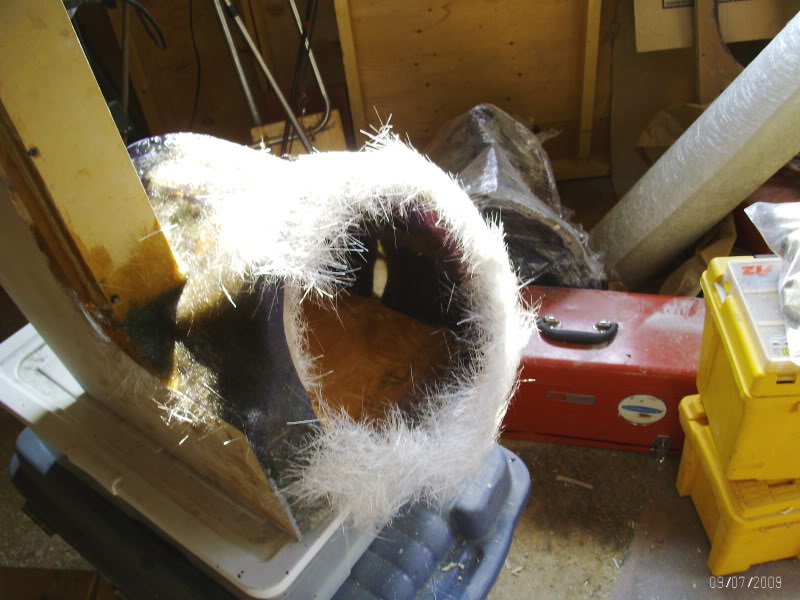
The results of stupidity........ .......tip for the people that are just getting into this, if your resin starts to thicken all of a sudden and jell up, just toss it, don't let this happen and cost you more time
")
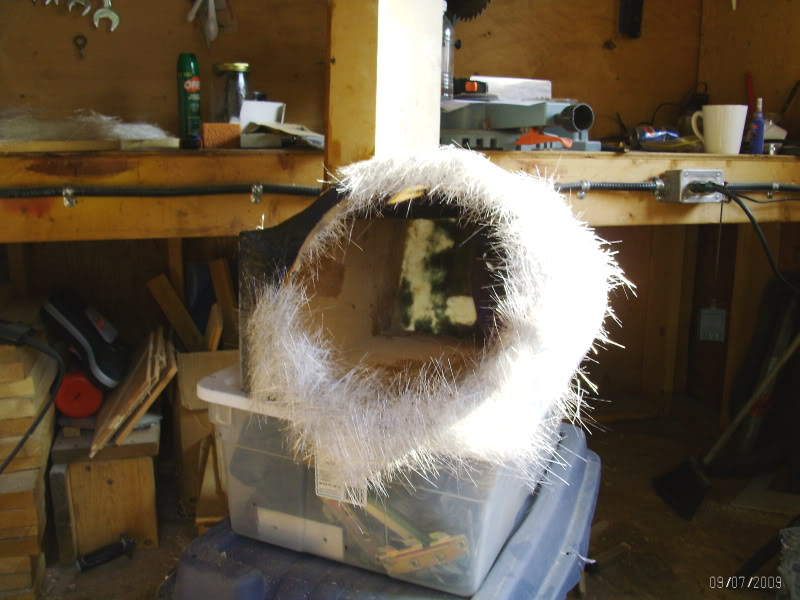
here is some of my matt torn and ready to use. I even had the bug dope ready for those mini helicopters that bite
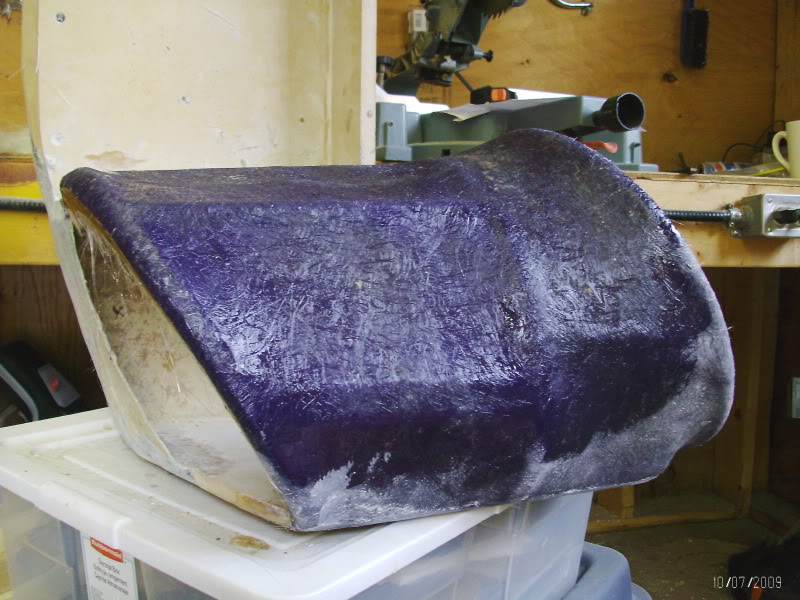
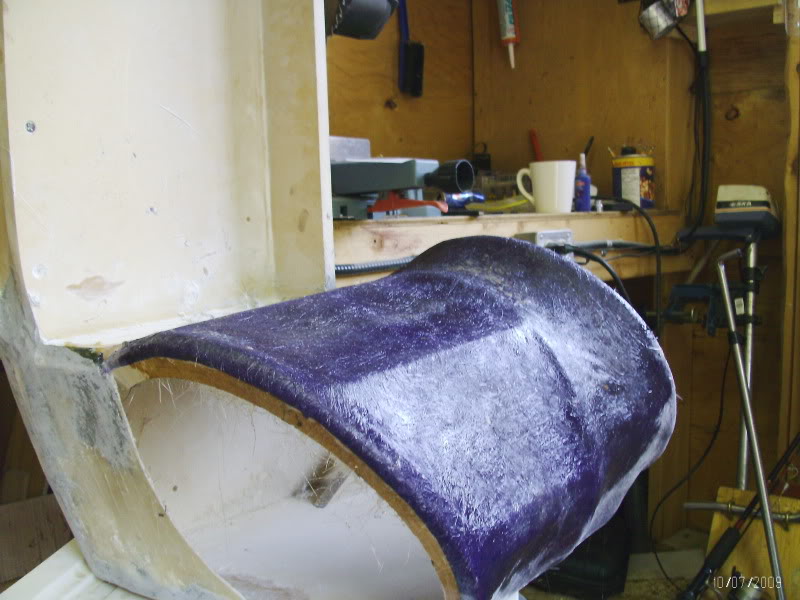
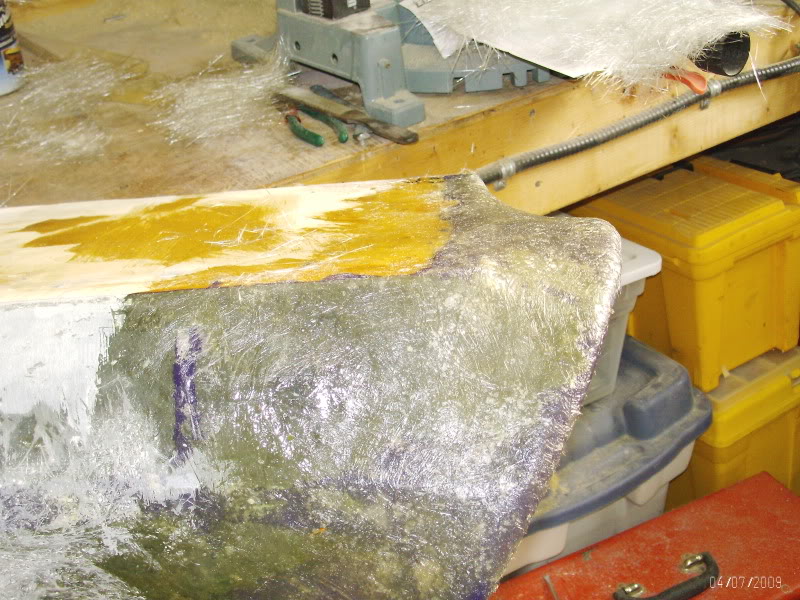
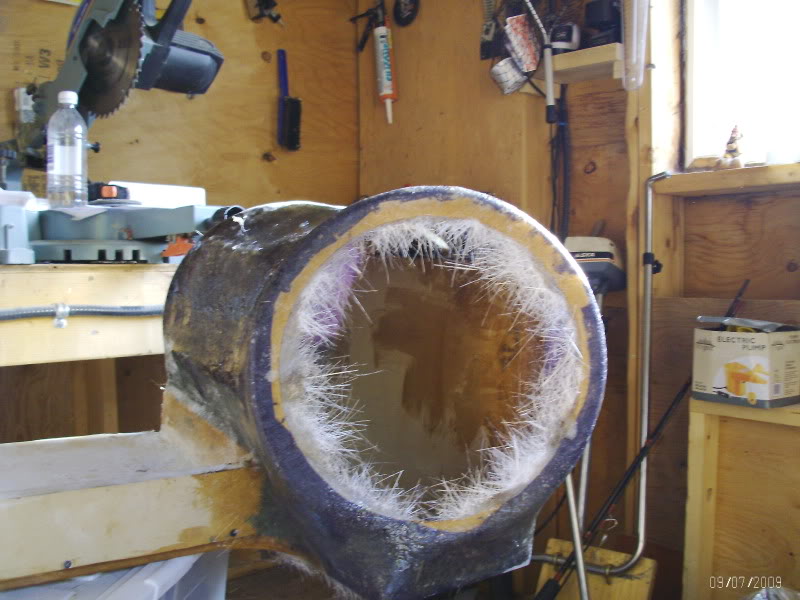
But there was some success. I'm working slow because I wanted to get a feel of the new resin, but these shots have 3-4 layers, and I'm planning to do at least 2 more layers on the inside, if not 3, and possibly another layer on the outside
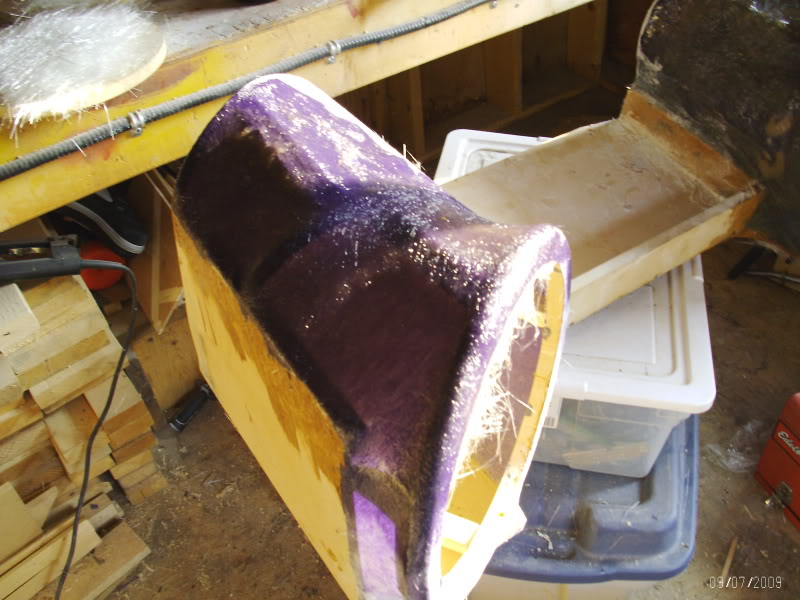
And a picture I took at work today that I kinda like, just for the heck of it.

So here are a couple pics from tonights work. I didn't get to much done because of a screw up that could have been totally avoided, but I got stupid. I mixed up some of my old cheap bondo resin to use up the rest. I wasn't paying attention to how hot it accually was outside and mixed the resin to hot, I tried to use it all up, but was way to late.
The results of stupidity........
.......tip for the people that are just getting into this, if your resin starts to thicken all of a sudden and jell up, just toss it, don't let this happen and cost you more timehere is some of my matt torn and ready to use. I even had the bug dope ready for those mini helicopters that bite
But there was some success. I'm working slow because I wanted to get a feel of the new resin, but these shots have 3-4 layers, and I'm planning to do at least 2 more layers on the inside, if not 3, and possibly another layer on the outside
And a picture I took at work today that I kinda like, just for the heck of it.


Thread Starter
50 Watt CAFz'r
Joined: Apr 2006
Posts: 359
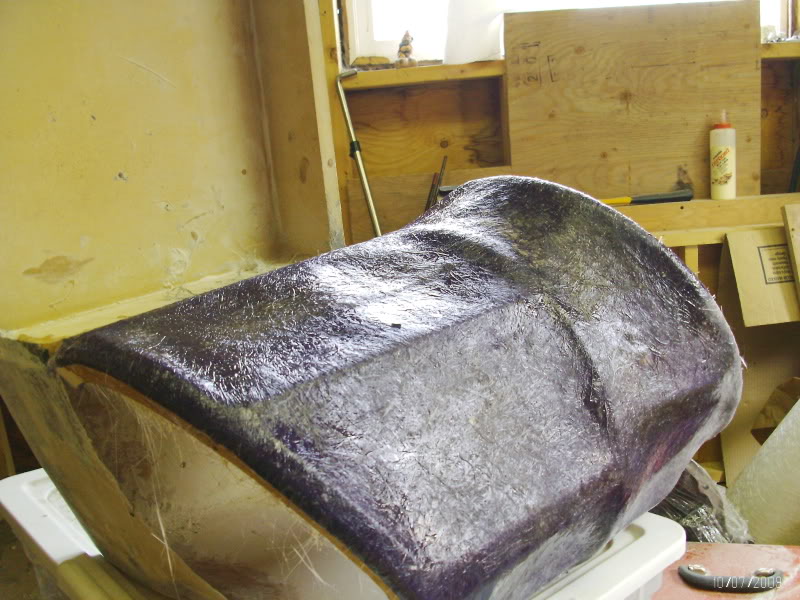
got a bit of glassing done tonight, not alot, but more then the last round. I'm getting a little quicker, starting to think that I should get a third cup and brush going so I can do more at once. Might help if I mix more then 3-4 oz resin though I've got to find me a roller as well.
Here are 3 pics that I took tonight, thought that was all that was necessary.

I've got to find me a roller as well.Here are 3 pics that I took tonight, thought that was all that was necessary.
Thread Starter
50 Watt CAFz'r
Joined: Apr 2006
Posts: 359
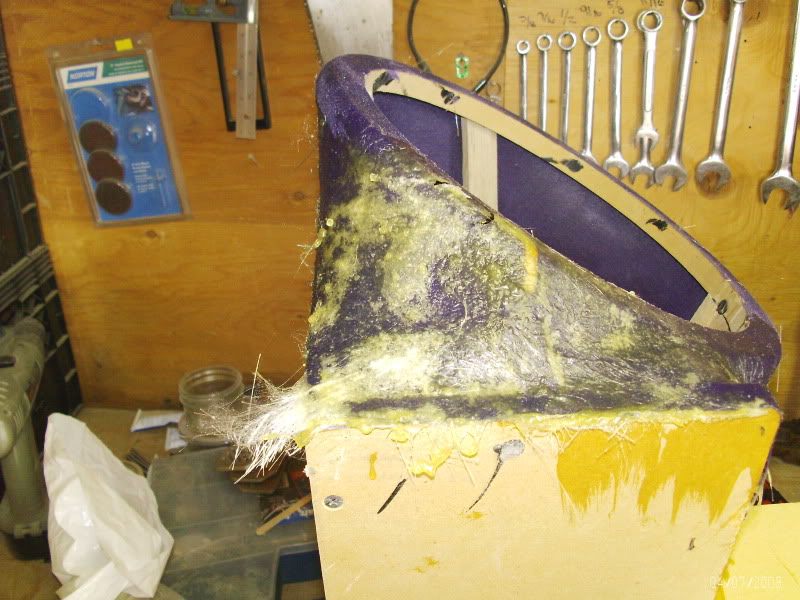
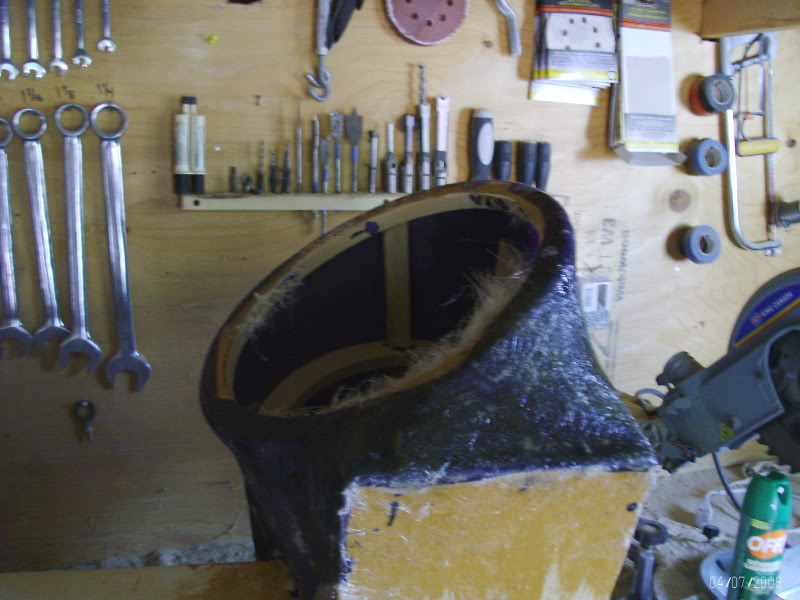
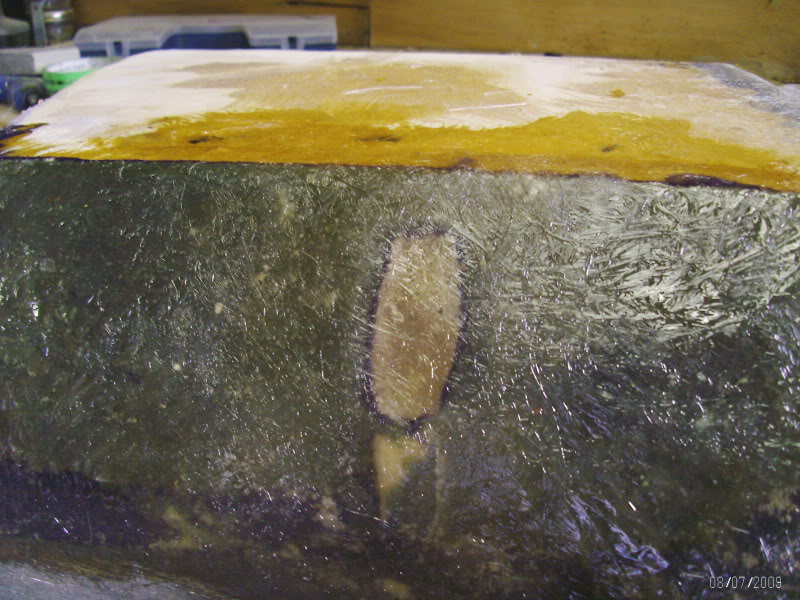
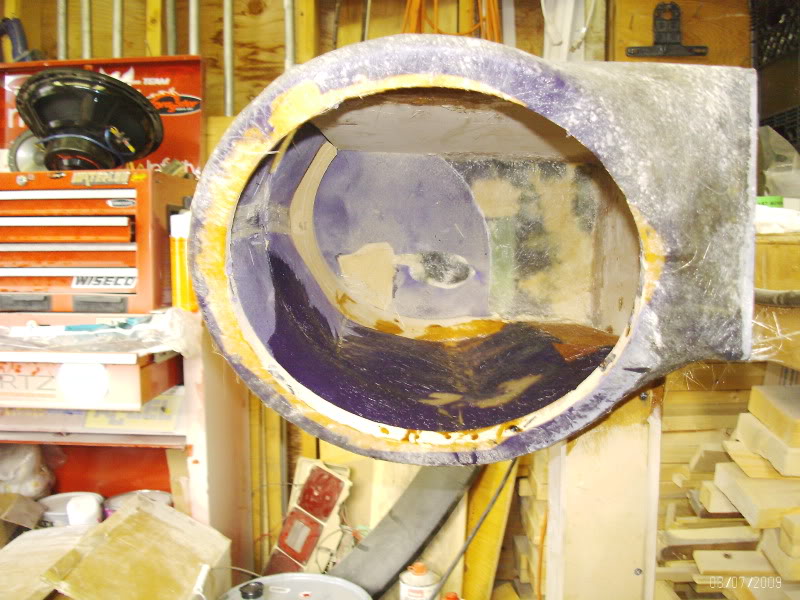
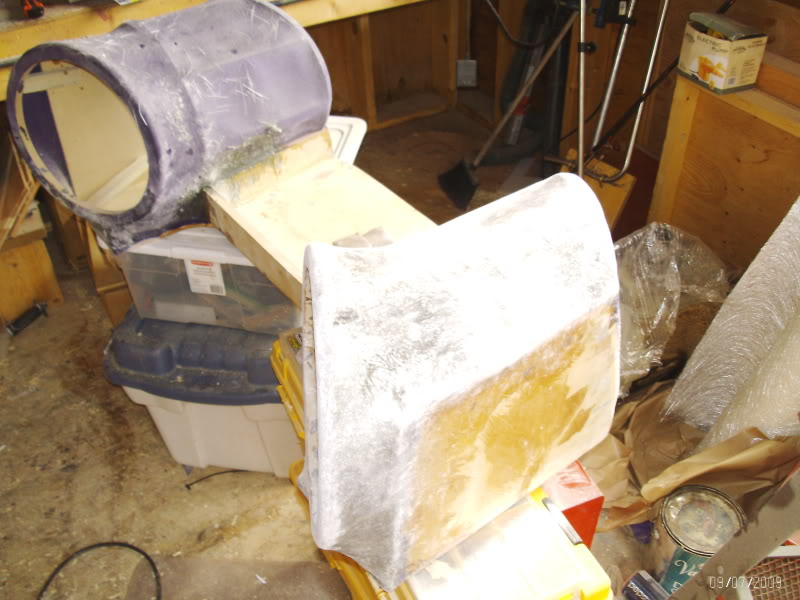
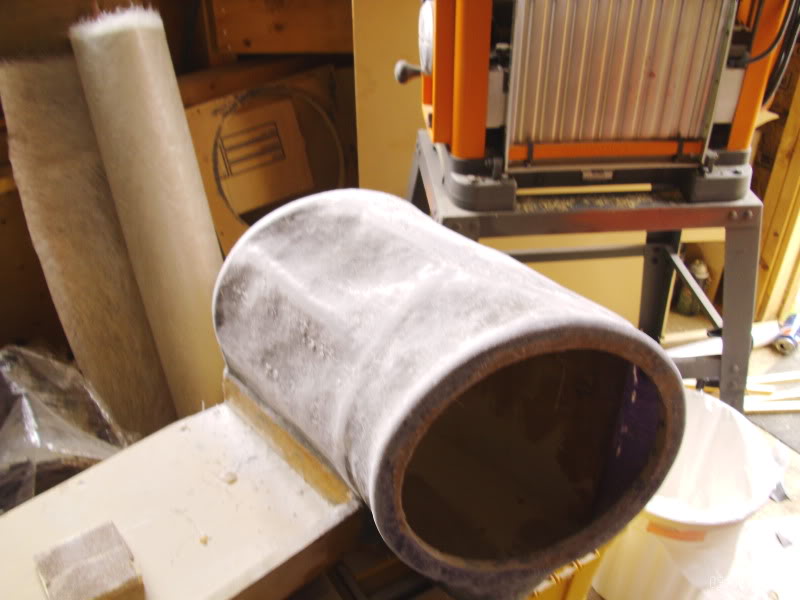
well I got the frame of the one encloser removed....I broke a hole in one spot, I had used kitty hair on that spot and found out how week it really is. I won't be using that stuff again for anything structual. I evened out the hole, glassed over it with 3 layers. I will ad 3 more layers to the inside. I also did a little bit of glassing on the inside.
I know all of you are thinking "man this guy is taking forever!!". I'm going to try get all my layers one this puppy tomorrow...then I can start to work on the other side.
One question....how do I know I have it thick enough? I've heard that if you push on it with your thumb and it flexes it needs more layers, if it doesn't, then your golden. Am I correct with this?
Ribs removed

Hole that I created, after sanding down
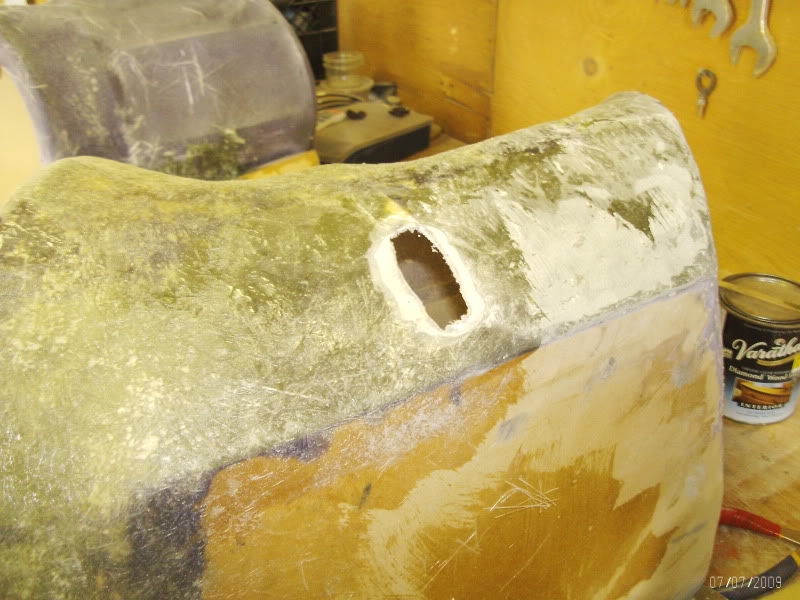
Hole glassed back over
and a couple shots of what I glassed on the inside
See anything I could have done different, besides using that friggin kitty hair?
I know all of you are thinking "man this guy is taking forever!!". I'm going to try get all my layers one this puppy tomorrow...then I can start to work on the other side.
One question....how do I know I have it thick enough? I've heard that if you push on it with your thumb and it flexes it needs more layers, if it doesn't, then your golden. Am I correct with this?
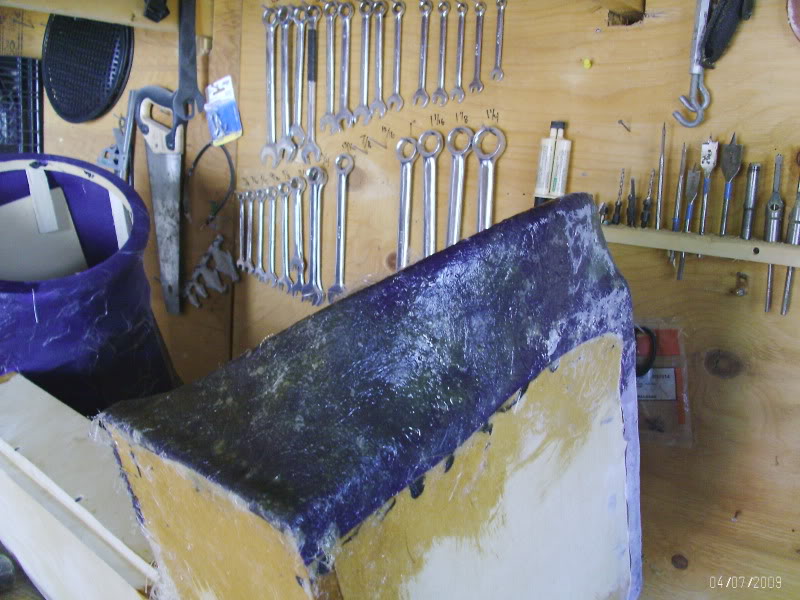
Ribs removed
Hole that I created, after sanding down
Hole glassed back over
and a couple shots of what I glassed on the inside
See anything I could have done different, besides using that friggin kitty hair?
Last edited by scroudt111; Jul 8, 2009 at 10:05 PM.
Thread Starter
50 Watt CAFz'r
Joined: Apr 2006
Posts: 359
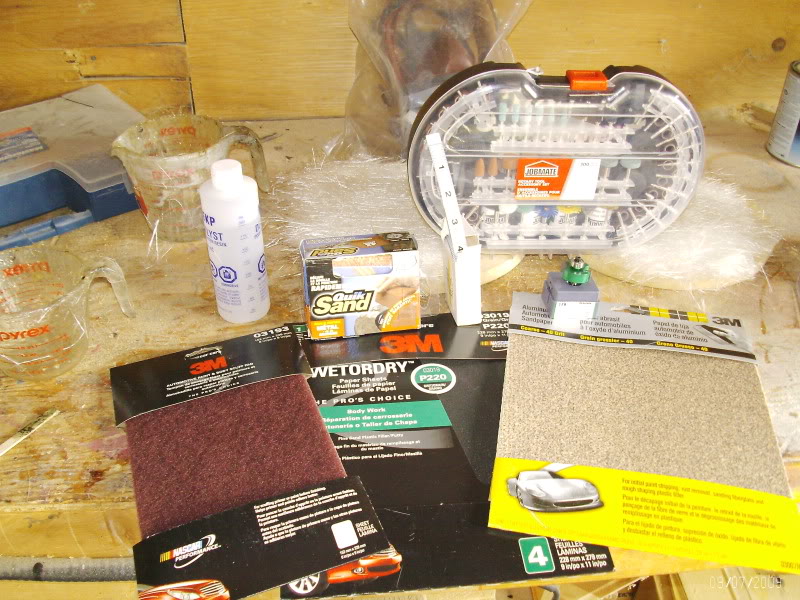
OK,
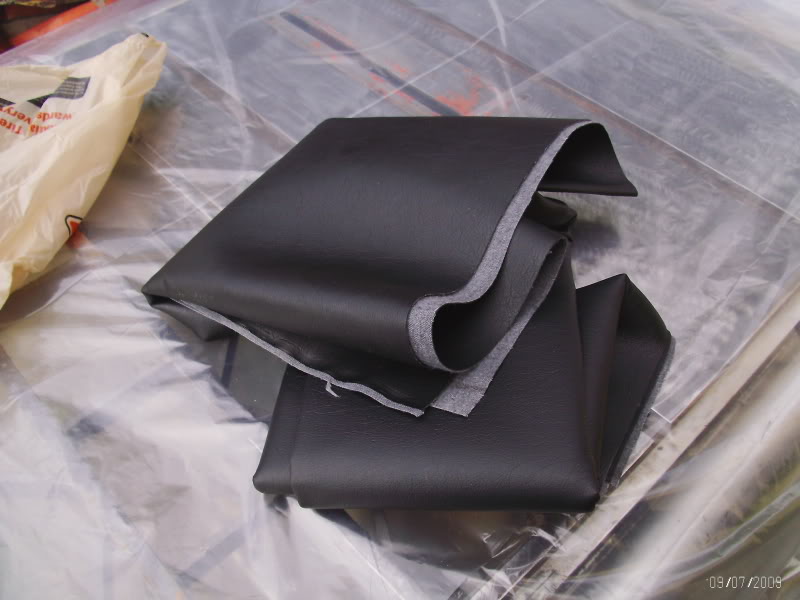
first off, I got a couple goodies today. Got a 1/4" rabiting bit, stick on ruler for my table saw. Some more sand paper, scotch brite for my table saw(got wet and rusted) quick sand block(tried it quickly, didn't work that well), a 300 piece kit for my dremel( on sale for 10 bucks ) and some leather, but I'm not to sure yet if I'm going to use the leather or not. The leather is for a couple other little things that I want to do to the car. Plans so far are to cover the enclosure with carpet. Thats if I can.
Here are a couple shots of my progress.
Sorry, first pic is really bright
first off, I got a couple goodies today. Got a 1/4" rabiting bit, stick on ruler for my table saw. Some more sand paper, scotch brite for my table saw(got wet and rusted) quick sand block(tried it quickly, didn't work that well), a 300 piece kit for my dremel( on sale for 10 bucks
) and some leather, but I'm not to sure yet if I'm going to use the leather or not. The leather is for a couple other little things that I want to do to the car. Plans so far are to cover the enclosure with carpet. Thats if I can.Here are a couple shots of my progress.
Sorry, first pic is really bright
Thread Starter
50 Watt CAFz'r
Joined: Apr 2006
Posts: 359
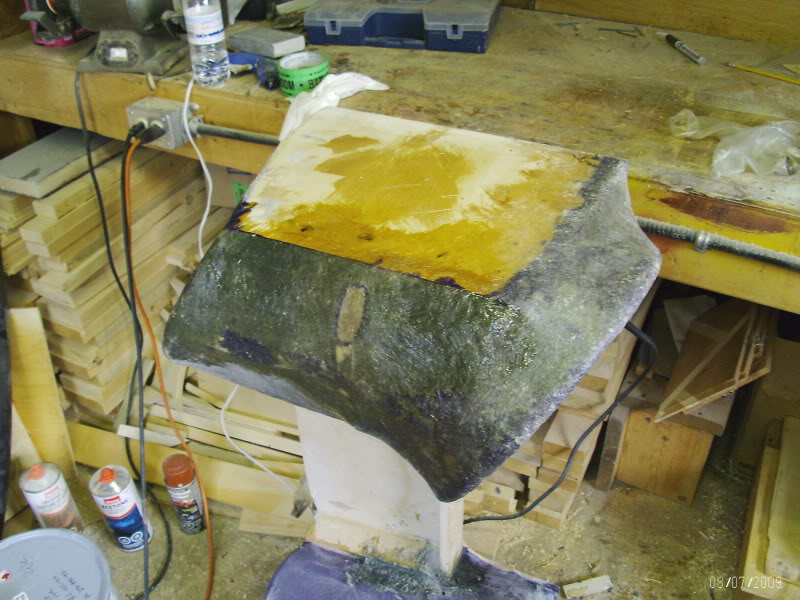
OK, here are a few more photos.
I decided that I wanted one more layer of glass around the ring where the sub will be mounted.
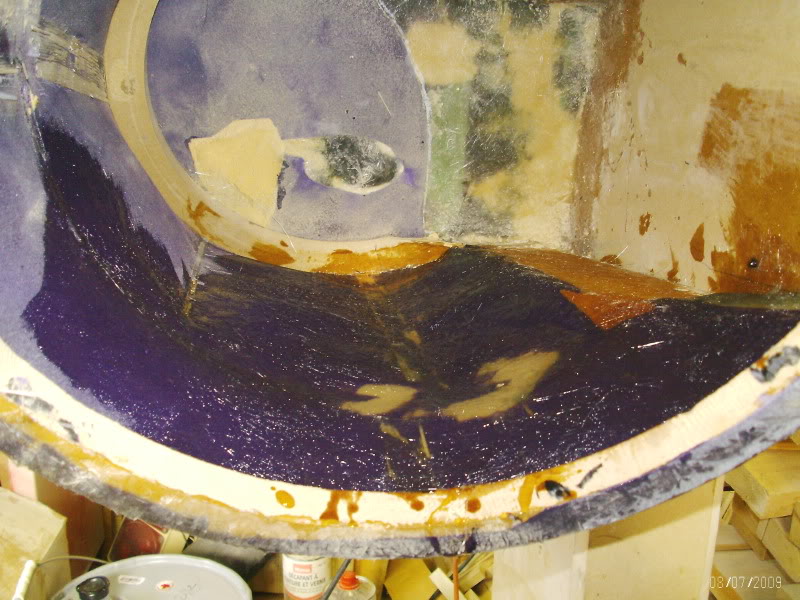
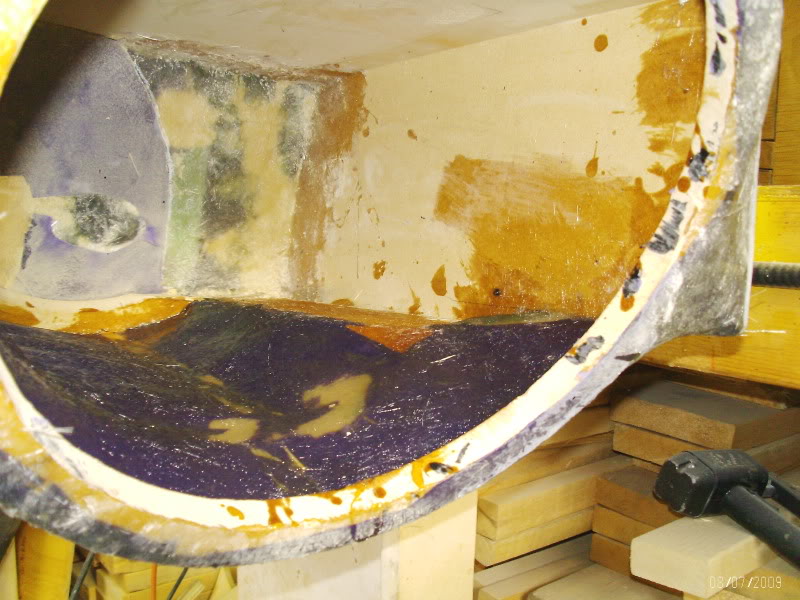
First 2 pics are of my glass prep. The 3rd pic is with all the glass resined up and curing
And with the resin added
I also started to add a couple layers to the other side

WOW!! my little camera has been getting a workout in the past week......not bad for a $90 dollar camera
I decided that I wanted one more layer of glass around the ring where the sub will be mounted.
First 2 pics are of my glass prep. The 3rd pic is with all the glass resined up and curing
And with the resin added
I also started to add a couple layers to the other side
WOW!! my little camera has been getting a workout in the past week......not bad for a $90 dollar camera