
2001 Mitsubishi Eclipse Spyder SQ Build

2001 Mitsubishi Eclipse Spyder SQ Build
OK So I got this Spyder in December. Super happy with it. Love the way it drives, the 30mpg, and can't wait to get the ******* out when the weather warms up. 
I've been a car audio hobbyist for the better part of my life, and because of that my first major project is completely replacing the sound system in the Spyder.
My goals are simple:
Loud & Clear.
Basically, I want to enter it into some SQ shows, yet at the same time have enough headroom to be able to listen at healthy volumes on the highway with the top down. It's not going to be a flashy install; I want it to be stealth for the most part. Oh, and I want to get a set of golf clubs in the trunk when it's all said and done too.
Now because of my family responsibilities, I'm on somewhat of a tight budget, so most of the gear I'm using has been "repurposed". (read: used) Because of that, some of the pieces aren't exactly pretty, but their sonic character has not been compromised, so I'll just need some lipstick & mascara to pretty it up. So to that end, let me introduce you to the equipment that's being installed:
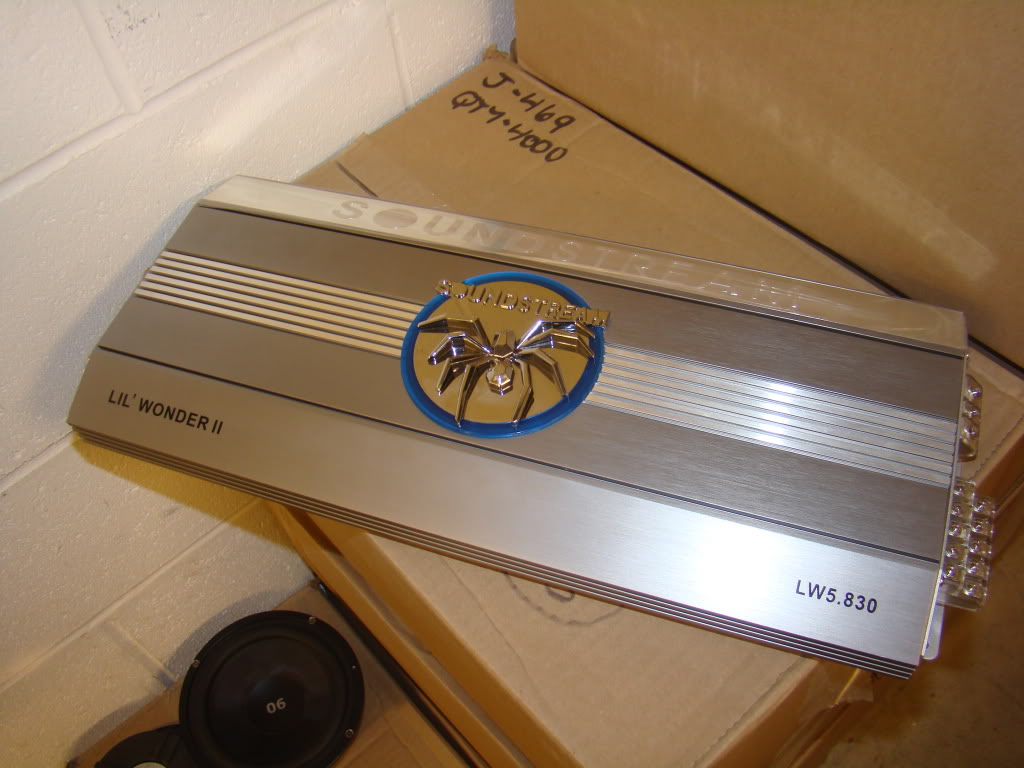
Amplifiers:
Soundstream LW5.830, a 5-channel amplifier, which will be bridged; sending 280w RMS to the front two channels, and 270w to a sub channel. The sub channel will not be used. This amplifier will be powering the front speakers; two ID Horns, and two CDT 6.5" midbass drivers.
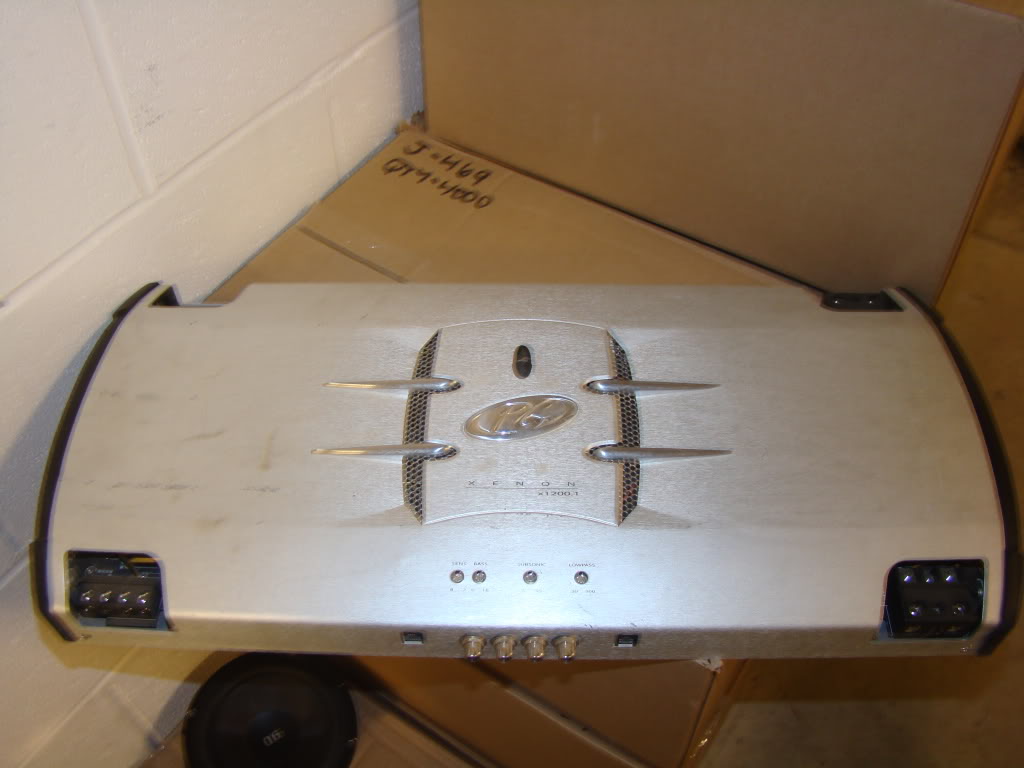
Sub Amp:
Phoenix Gold Xenon 1200.1; 1200w RMS into 1 4-ohm channel. This amp has a lot of cosmetic "inconsistencies", however works just fine. I will be mounting this in the trunk floor, without the housing, to show off the internals. Sorry for the crappy pic, the battery in my camera was dying.
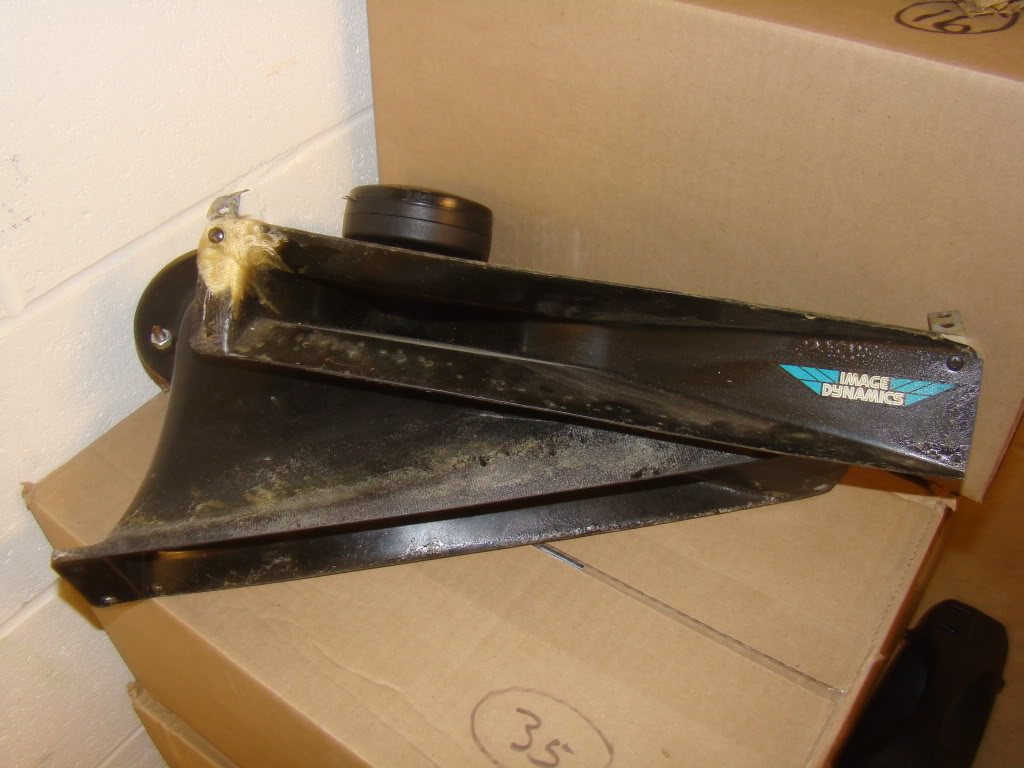
Front Horns, and Front mid-bass drivers:
The front stage consists of Image Dynamics CD-1E horns, that will mount under the dash:
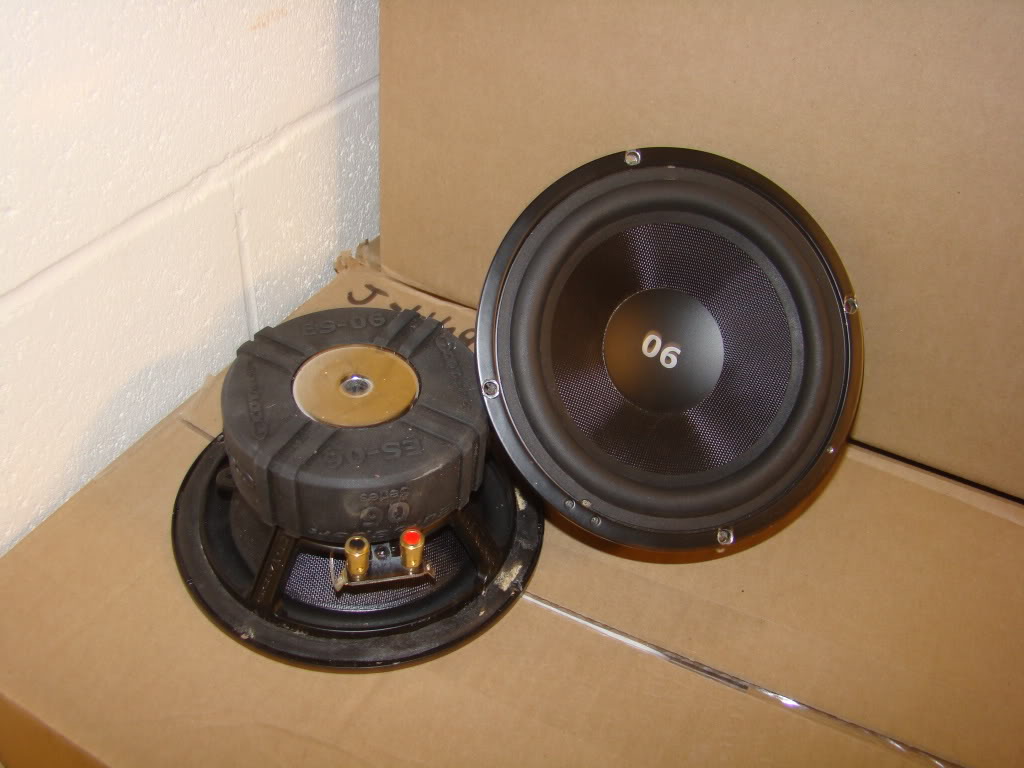
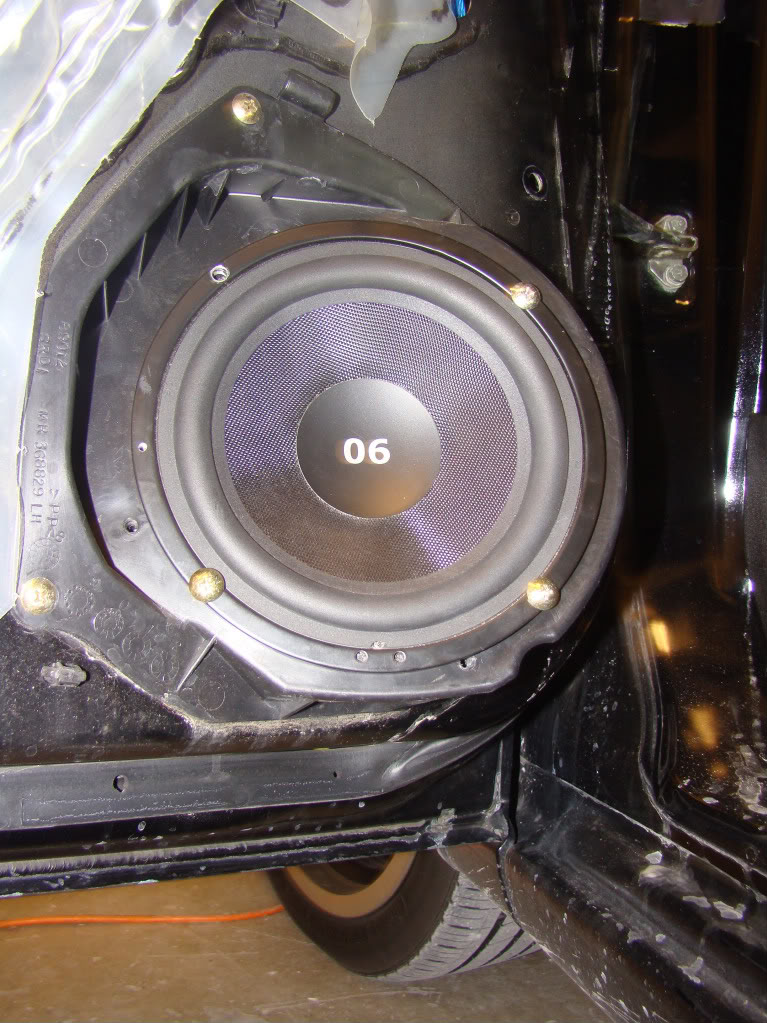
...and CDT midbass drivers, model ES-06:
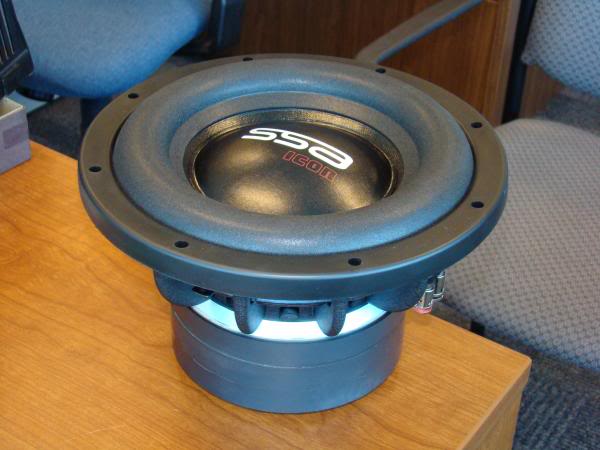
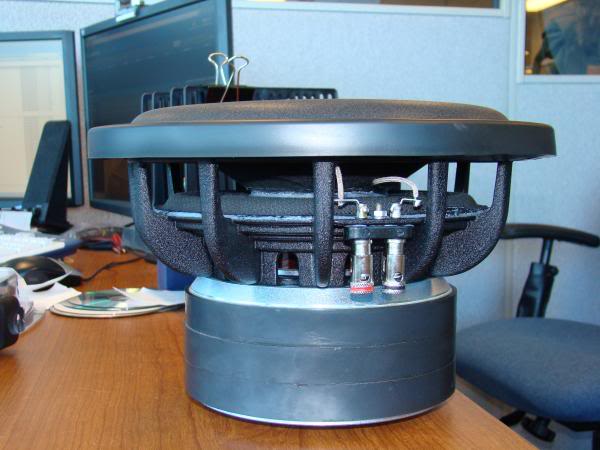
The sub is on order, (thanks thumppper! ) and is an SSA Icon 10" with dual-2-ohm voicecoils. It's in transit right now, and I hope to receive it Monday. I'll take a picture of it when it arrives. Here's a stock pic of the 12" model:


Also got some wiring to hook everything up:

...and a Big-3 kit:
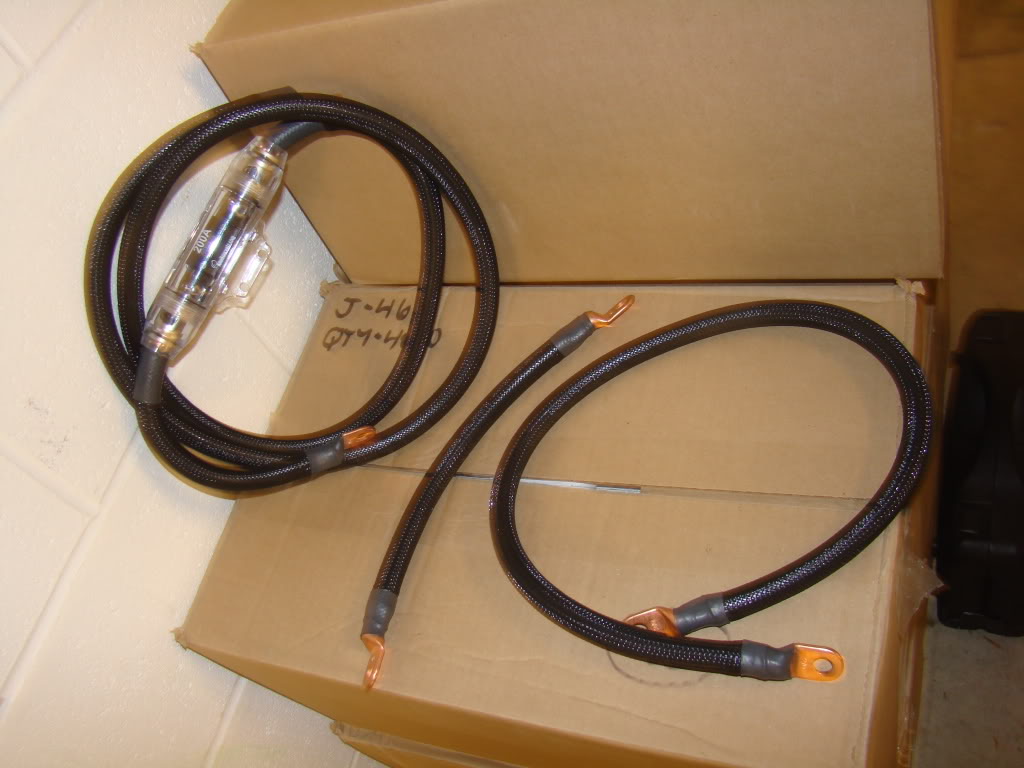
My camera battery died after I installed the Big-3 kit, so I don't have a pic of that right now. I'll get one later when I install the new amp wiring. Needless to say it made a huge difference; my idle voltage went from 12.7 to 14.31 after the upgrade
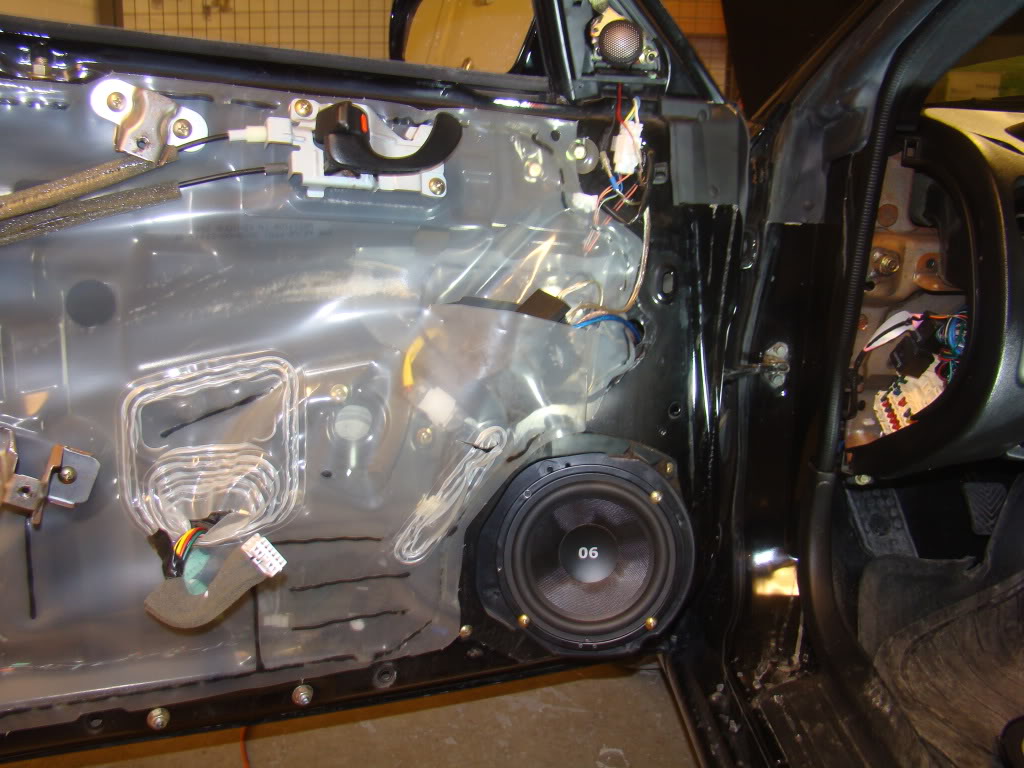
So, after installing the Big-3 kit I moved on to the midbass drivers, since they're basically a drop-in. I peeled the panel off the driver door (piece of cake), and replaced the speaker. I was pleasantly surprised to find the previous owner had installed an Infinity Reference component set, but this is outta here anyway. I replaced the speaker wire he used with some nice 12ga, zip-tied it inside the door and mounted the speaker.
Here's the new driver in its new home:
I moved on to the next door, to find this:
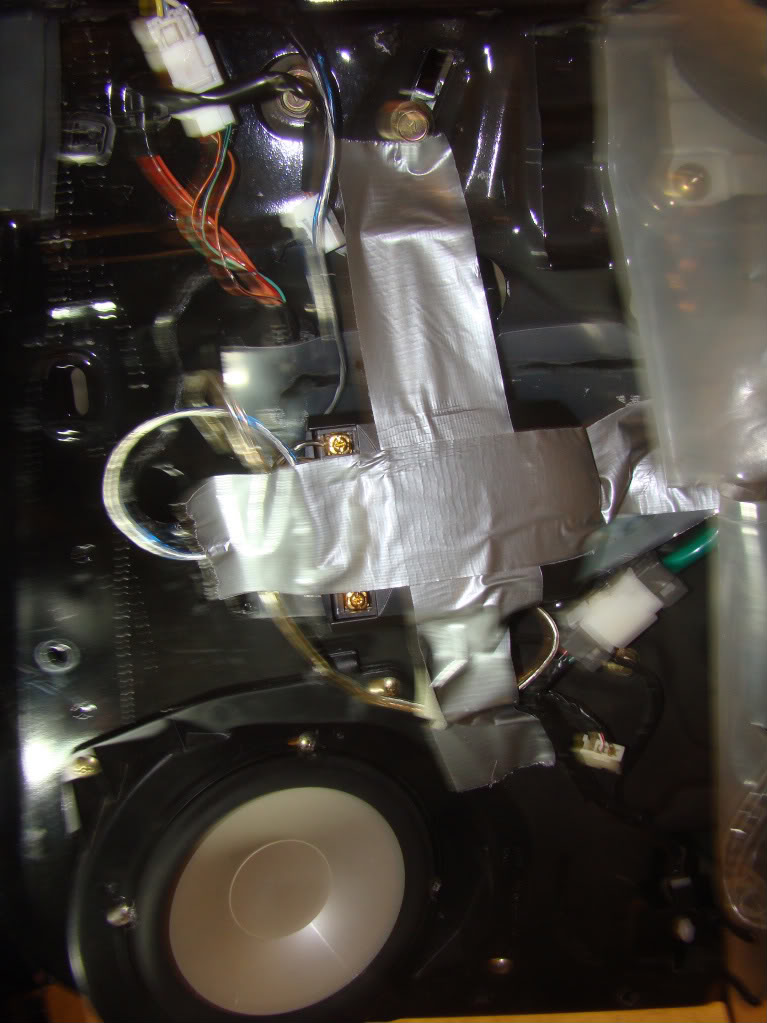
 Nothing like using duct tape to install a crossover.
Anyway, I yanked the speaker, installed new 12ga speaker wire, and secured the new driver. It looks the same as the other side. I secured the crossover with double-sided adhesive foam.
Here's a comparison shot of the new CDT driver next to the 'old' Infinity Reference driver:

Thank you Mitsubishi for the really deep doors!
Next steps: When my Second Skin Damplifier Pro gets here, I'll be beefing up the stock speaker door mount, deadening the outer skin and sealing the inner skin. This will do for now. The trunk is missing the spare tire cover, so I'll have to create a new floor for that. Once the sub gets here, I'll be designing the enclosure, and hopefully getting that installed within the next month or so. My goal is to have the system ready for Voicecoil meltdown on June 27th.
Progress will be in spurts; I don't have the time to work on it on a daily basis, so please be patient. Even with just the CDT's in there, the system sounds SOOO much better. Much more clarity and detail, and they're just running off of the Pioneer head unit I've got in there...(no pic, forgot will get it later)
Funny thing is, the system's not even installed yet, and I'm already considering some changes. I might replace the SoundStream with a JL amp, if I can find one in my price range, and the patch cables (which were free) will be replaced with twisted-pair to cut down on potential noise induction. Also considering picking up an old-skool PPI 30-band EQ, and possibly replacing the head unit with something more flexible. All depends on the funds.
I've been a car audio hobbyist for the better part of my life, and because of that my first major project is completely replacing the sound system in the Spyder.
My goals are simple:
Loud & Clear.
Basically, I want to enter it into some SQ shows, yet at the same time have enough headroom to be able to listen at healthy volumes on the highway with the top down. It's not going to be a flashy install; I want it to be stealth for the most part. Oh, and I want to get a set of golf clubs in the trunk when it's all said and done too.
Now because of my family responsibilities, I'm on somewhat of a tight budget, so most of the gear I'm using has been "repurposed". (read: used) Because of that, some of the pieces aren't exactly pretty, but their sonic character has not been compromised, so I'll just need some lipstick & mascara to pretty it up. So to that end, let me introduce you to the equipment that's being installed:
Amplifiers:
Soundstream LW5.830, a 5-channel amplifier, which will be bridged; sending 280w RMS to the front two channels, and 270w to a sub channel. The sub channel will not be used. This amplifier will be powering the front speakers; two ID Horns, and two CDT 6.5" midbass drivers.
Sub Amp:
Phoenix Gold Xenon 1200.1; 1200w RMS into 1 4-ohm channel. This amp has a lot of cosmetic "inconsistencies", however works just fine. I will be mounting this in the trunk floor, without the housing, to show off the internals. Sorry for the crappy pic, the battery in my camera was dying.
Front Horns, and Front mid-bass drivers:
The front stage consists of Image Dynamics CD-1E horns, that will mount under the dash:
...and CDT midbass drivers, model ES-06:
The sub is on order, (thanks thumppper!
) and is an SSA Icon 10" with dual-2-ohm voicecoils. It's in transit right now, and I hope to receive it Monday. I'll take a picture of it when it arrives. Here's a stock pic of the 12" model:Also got some wiring to hook everything up:
...and a Big-3 kit:
My camera battery died after I installed the Big-3 kit, so I don't have a pic of that right now. I'll get one later when I install the new amp wiring. Needless to say it made a huge difference; my idle voltage went from 12.7 to 14.31 after the upgrade
So, after installing the Big-3 kit I moved on to the midbass drivers, since they're basically a drop-in. I peeled the panel off the driver door (piece of cake), and replaced the speaker. I was pleasantly surprised to find the previous owner had installed an Infinity Reference component set, but this is outta here anyway. I replaced the speaker wire he used with some nice 12ga, zip-tied it inside the door and mounted the speaker.
Here's the new driver in its new home:
I moved on to the next door, to find this:
Nothing like using duct tape to install a crossover. Anyway, I yanked the speaker, installed new 12ga speaker wire, and secured the new driver. It looks the same as the other side. I secured the crossover with double-sided adhesive foam.
Here's a comparison shot of the new CDT driver next to the 'old' Infinity Reference driver:
Thank you Mitsubishi for the really deep doors!
Next steps: When my Second Skin Damplifier Pro gets here, I'll be beefing up the stock speaker door mount, deadening the outer skin and sealing the inner skin. This will do for now.
The trunk is missing the spare tire cover, so I'll have to create a new floor for that. Once the sub gets here, I'll be designing the enclosure, and hopefully getting that installed within the next month or so. My goal is to have the system ready for Voicecoil meltdown on June 27th.Progress will be in spurts; I don't have the time to work on it on a daily basis, so please be patient.
Even with just the CDT's in there, the system sounds SOOO much better. Much more clarity and detail, and they're just running off of the Pioneer head unit I've got in there...(no pic, forgot will get it later)Funny thing is, the system's not even installed yet, and I'm already considering some changes. I might replace the SoundStream with a JL amp, if I can find one in my price range, and the patch cables (which were free) will be replaced with twisted-pair to cut down on potential noise induction. Also considering picking up an old-skool PPI 30-band EQ, and possibly replacing the head unit with something more flexible. All depends on the funds.
Last edited by Jaloosk; Feb 26, 2010 at 11:34 AM.
Got a nice surprise from UPS this morning:
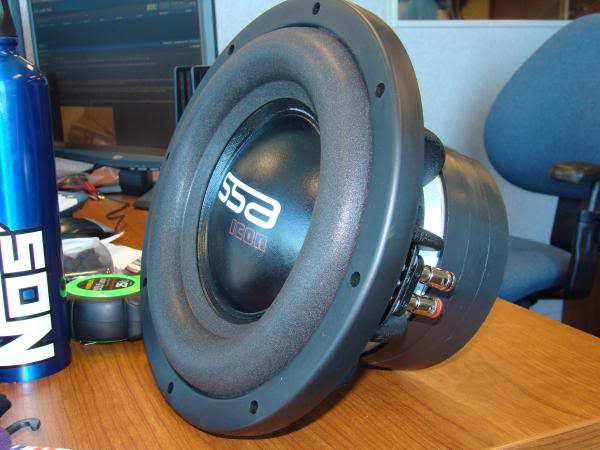
Thanks to thumppper for the sub.
Getting a box designed right now, hopefully, (all things going well) I'll be able to start working on the box this weekend!
Thanks to thumppper for the sub.
Getting a box designed right now, hopefully, (all things going well) I'll be able to start working on the box this weekend!


