Grand prix strip and rebuild


Along your shifter and hump, what is that grouping of red wires??
also, where you have the large runs of wire crossing each other at the heel of your gas pedal foot is going to be a PITA.
Not dissin, looks great, you did ask
also, where you have the large runs of wire crossing each other at the heel of your gas pedal foot is going to be a PITA.
Not dissin, looks great, you did ask
Thread Starter
50 Watt CAFz'r
Joined: Nov 2007
Posts: 146
like you mean be a pita when i put teh carpet back in?? if so.. the factory carpet has 3" of padding underneath it..
and on the hump that grouping of red wires is for the passenger power seat conversion as these cars never came with a passenger seat, i think i will loom it for astheticts

Thread Starter
50 Watt CAFz'r
Joined: Nov 2007
Posts: 146
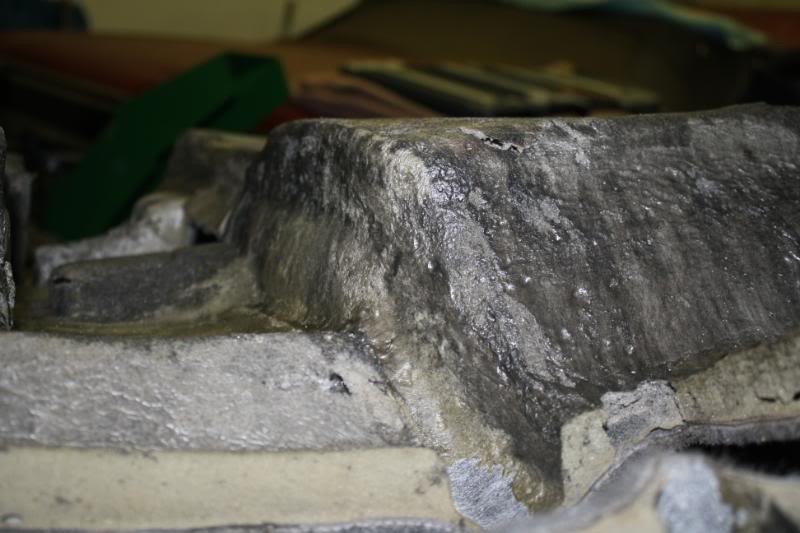
midrange cabinet is sealed and i put some extra spray foam in there yesterday to filll any possible voids and then i shaved it all out they are cut right into the floor where there is a totally sealed enclosure for crush zone
Administrator


Joined: Feb 2006
Posts: 16,860
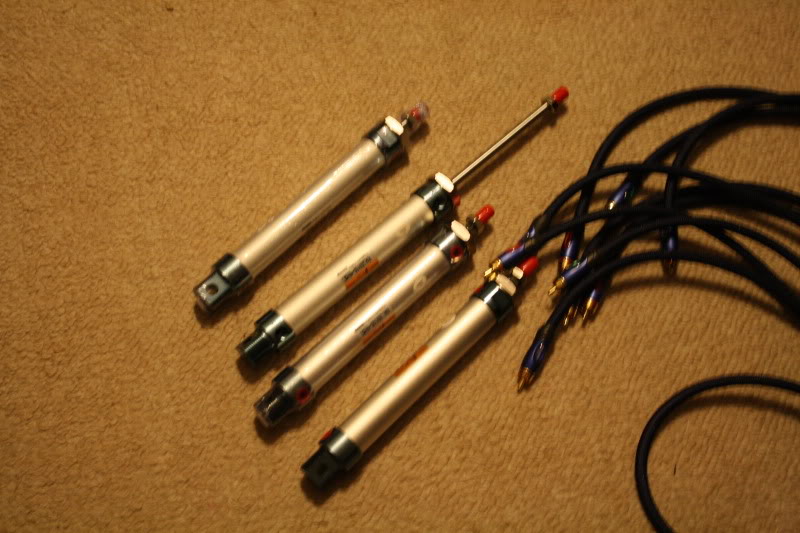
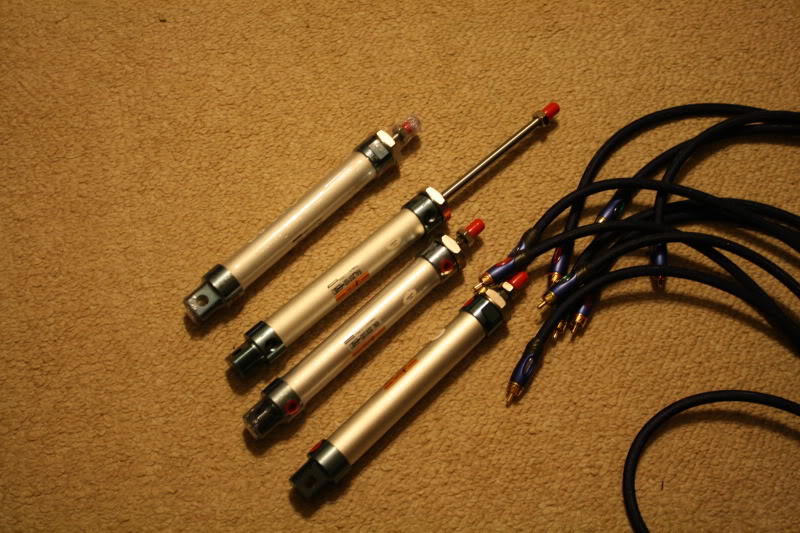
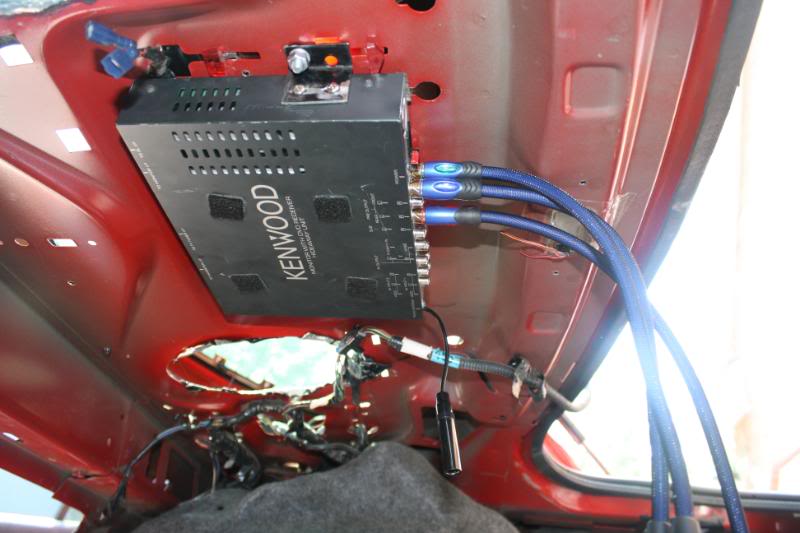
The one pic shows uninsulated crimp on speaker connectors. Depending on the judge, that could cost you points.
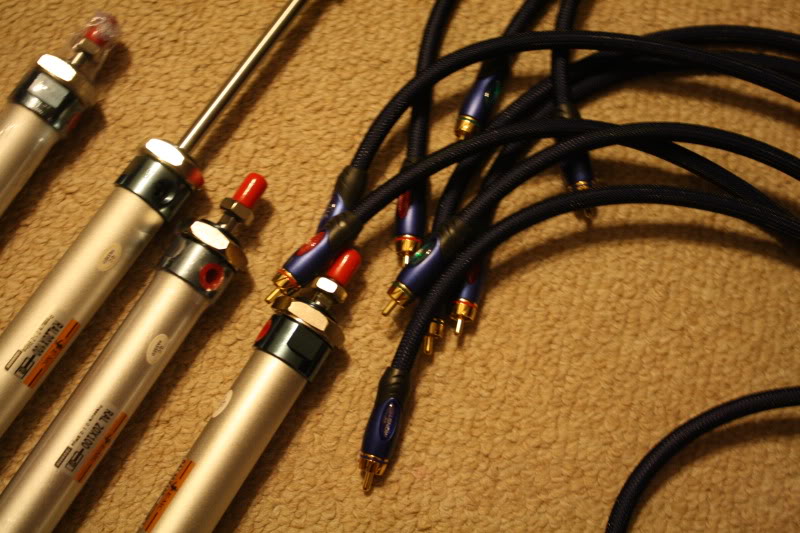
Take a little time and affix labels to the tech flex to identify the cables inside. It may not get you points per-se but it lends to your rap about attention to detail.
Take a little time and affix labels to the tech flex to identify the cables inside. It may not get you points per-se but it lends to your rap about attention to detail.
Thread Starter
50 Watt CAFz'r
Joined: Nov 2007
Posts: 146
The one pic shows uninsulated crimp on speaker connectors. Depending on the judge, that could cost you points.
Take a little time and affix labels to the tech flex to identify the cables inside. It may not get you points per-se but it lends to your rap about attention to detail.
Take a little time and affix labels to the tech flex to identify the cables inside. It may not get you points per-se but it lends to your rap about attention to detail.
Thread Starter
50 Watt CAFz'r
Joined: Nov 2007
Posts: 146
got some planning mostly done today with test fitting things and picked up all my wood for the project,
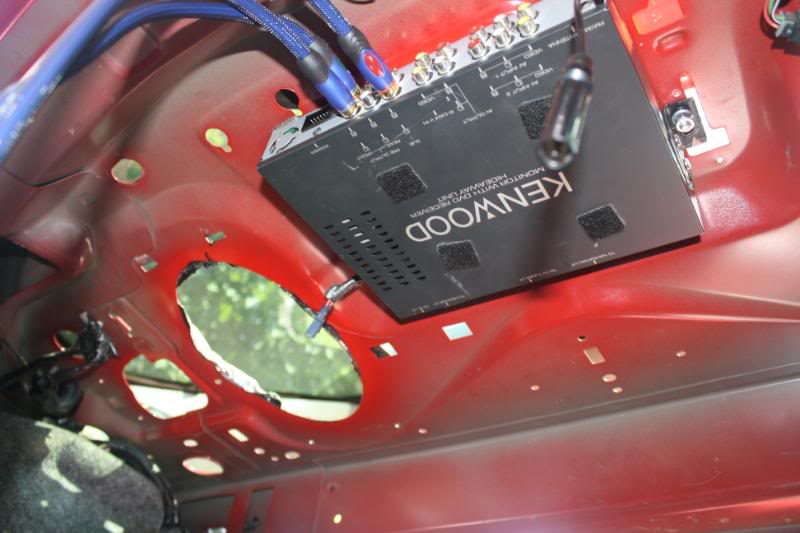
made custom mounting brackets for the head unit hide away piece and secured it firmly to the rear deck underside with come 3/8 bolts
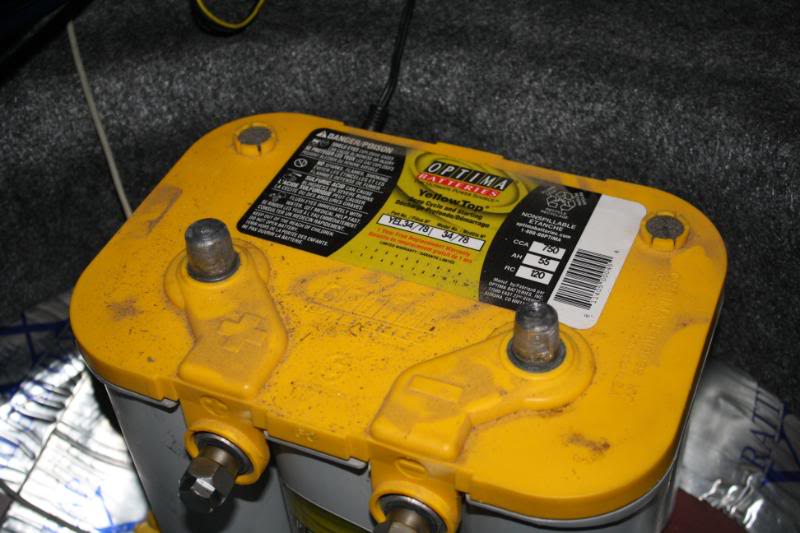
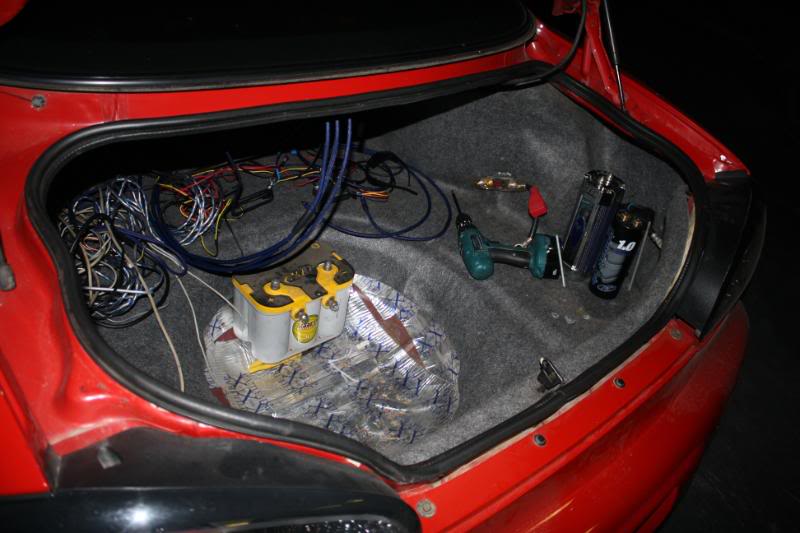
this is where the optima battery will reside and ill be making a custom venting solution for the battery as it only has two venting valves that will only discharge under battery failure but i will still vent them properly
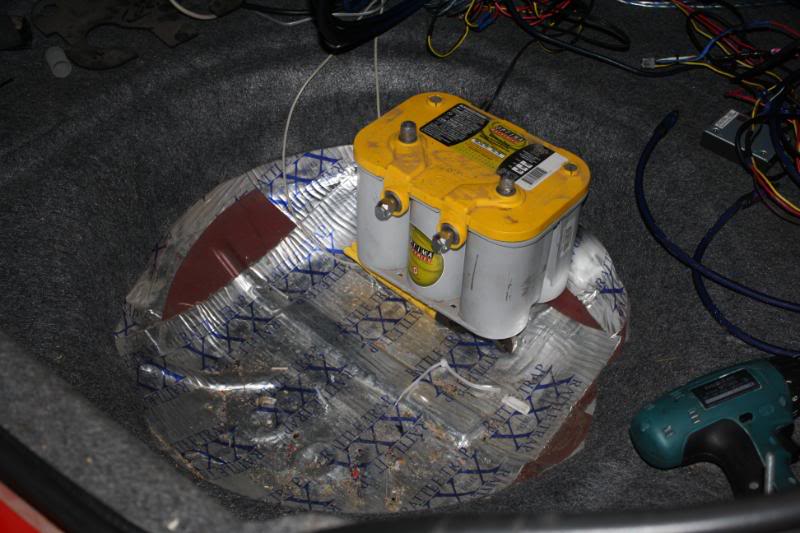
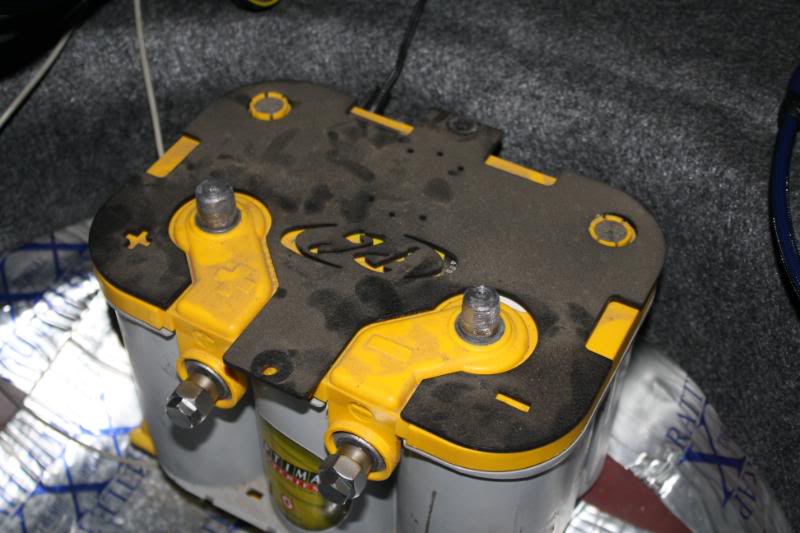
custom optima battery bracket (logo needs to be recut lol)
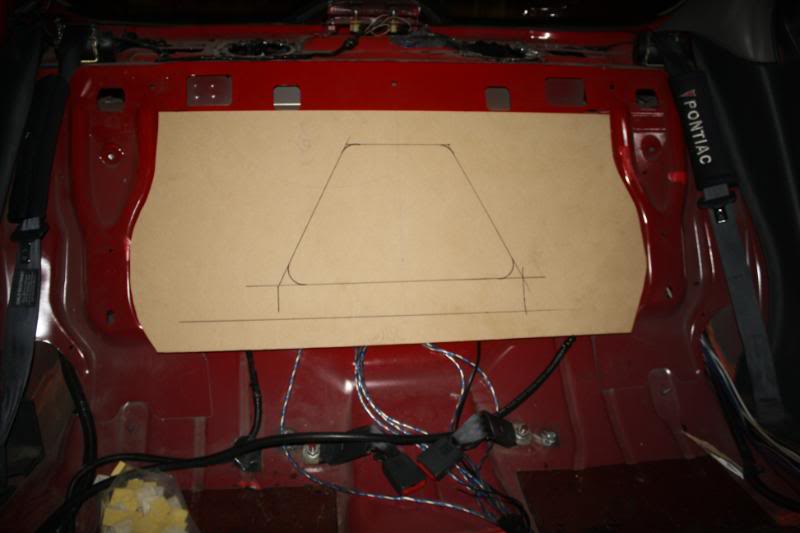
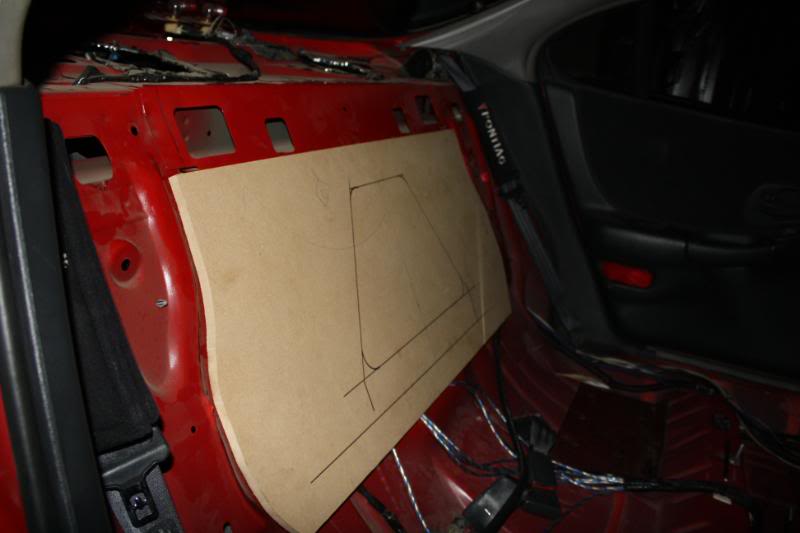
this is the board that will become the seporator for the trunk to the interior, it will cover the hole into the cabin and show into the subwoofer box
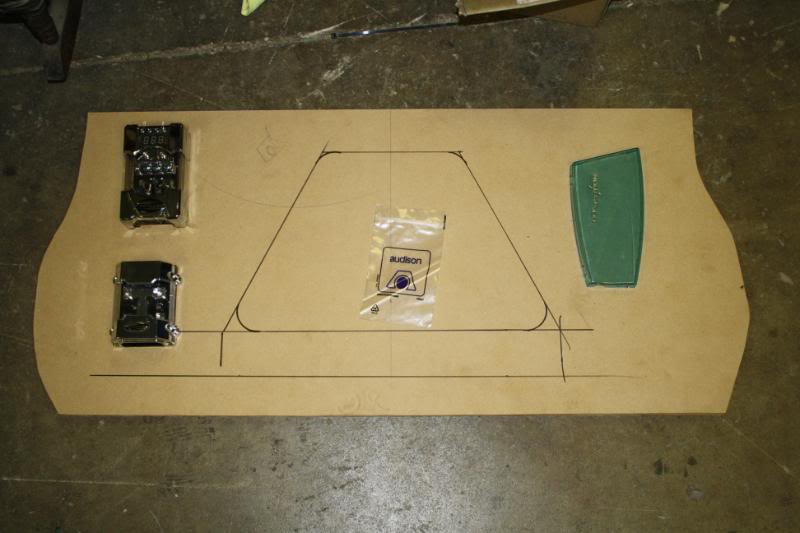
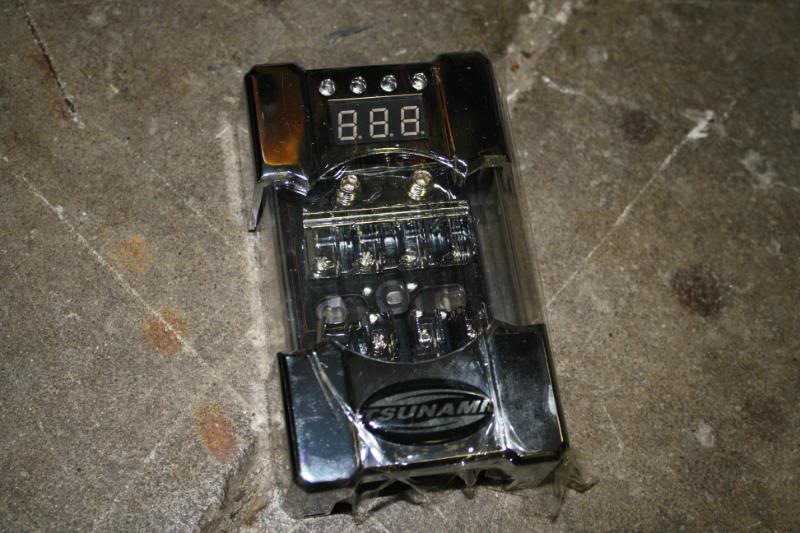
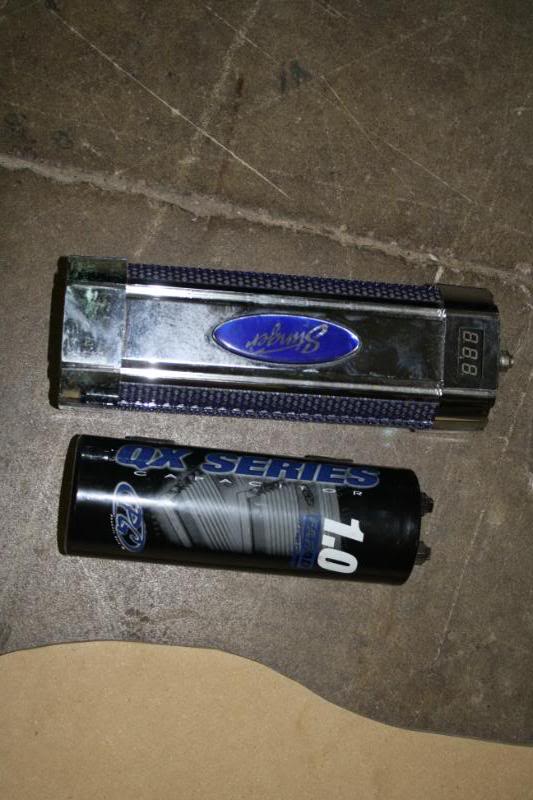
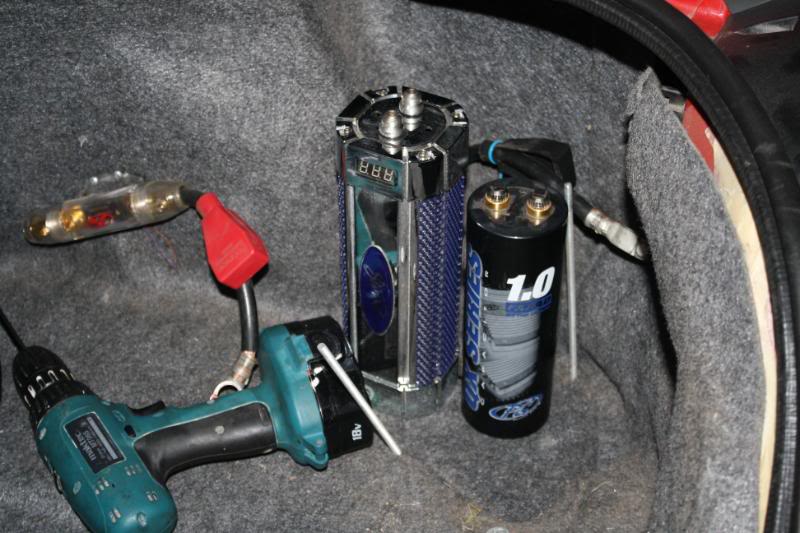
one distro block that will fuse the deck hidaway unit, carputer, and... umm well im sure i can find a couple more things lol and the second distro will be for hooking up the two capacitors if i end up using them

this is reason i am not deadening the floor as of now the carpets are quite thick and only area i think i will do is below the driver and passenger feet to keep midrange vibs down
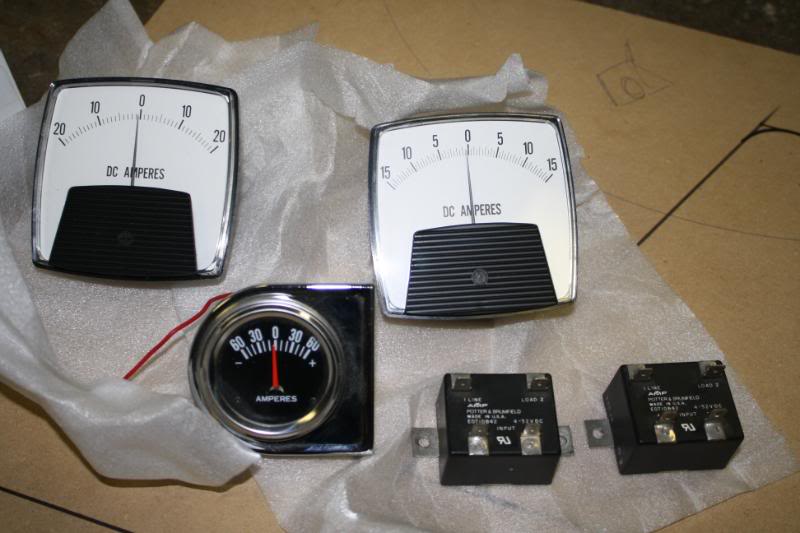
some old school guages that i think ill implement to keep an eye on some things
thats most progress for today... most of it was running around and sketching out desighn ideas and on the phone calling for supplies lol
made custom mounting brackets for the head unit hide away piece and secured it firmly to the rear deck underside with come 3/8 bolts
this is where the optima battery will reside and ill be making a custom venting solution for the battery as it only has two venting valves that will only discharge under battery failure but i will still vent them properly
custom optima battery bracket (logo needs to be recut lol)
this is the board that will become the seporator for the trunk to the interior, it will cover the hole into the cabin and show into the subwoofer box
one distro block that will fuse the deck hidaway unit, carputer, and... umm well im sure i can find a couple more things lol and the second distro will be for hooking up the two capacitors if i end up using them
this is reason i am not deadening the floor as of now the carpets are quite thick and only area i think i will do is below the driver and passenger feet to keep midrange vibs down
some old school guages that i think ill implement to keep an eye on some things
thats most progress for today... most of it was running around and sketching out desighn ideas and on the phone calling for supplies lol
Administrator
Joined: Feb 2006
Posts: 16,860
Make a quick panel out of 1/4" for under the rear deck and mount the hideaway piece to it. It makes for a nicer photo and an install judge will appreciate that you took time to upgrade an area you won't even see.
Solder and heatshrink the speaker wires on. That or get some gold plated spade connectors. They don't work any better but they look better in photos.
Solder and heatshrink the speaker wires on. That or get some gold plated spade connectors. They don't work any better but they look better in photos.