
2005 Nissan Altima Big 3 w/pics

Thread Starter
50 Watt CAFz'r
Joined: Nov 2008
Posts: 223
2005 Nissan Altima Big 3 w/pics
Ok So anyone with an 05/06 Nissan Altima looking to do the Big 3, here it is all simple with pictures.
I know there are allot of people out there that find this topic very confusing so I hope this helps. This info can probably apply to almost any car where the alternator mounts to the front of the engine.
First remove the black plastic engine cover by removing the 4 bolts holding it on.
now you can access the positive terminal of the altimeter.
Connect your positive battery/alternate cable.(use good ring terminals)

remove the battery and tray that sits under the battery to get to the 5 bolts that hold the battery box in place,then remove the battery box.
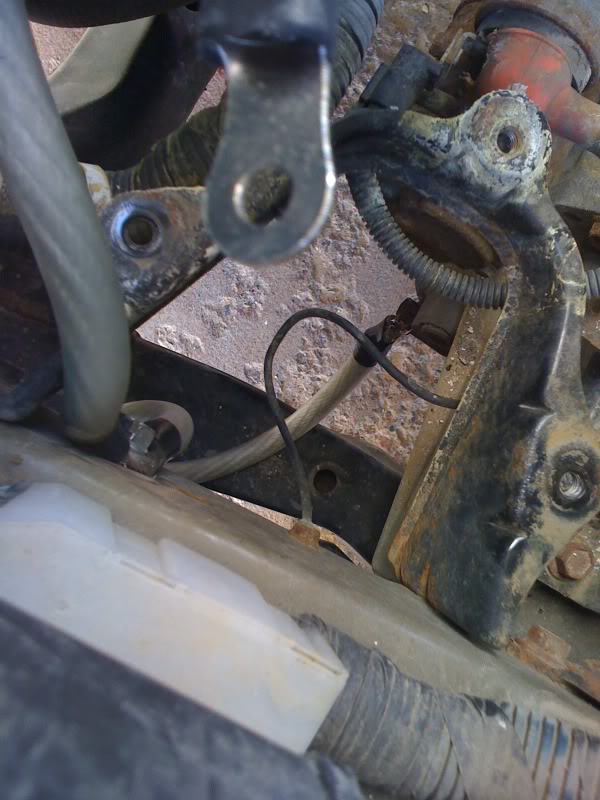
remove the factory ground from the battery to chassis/engine block
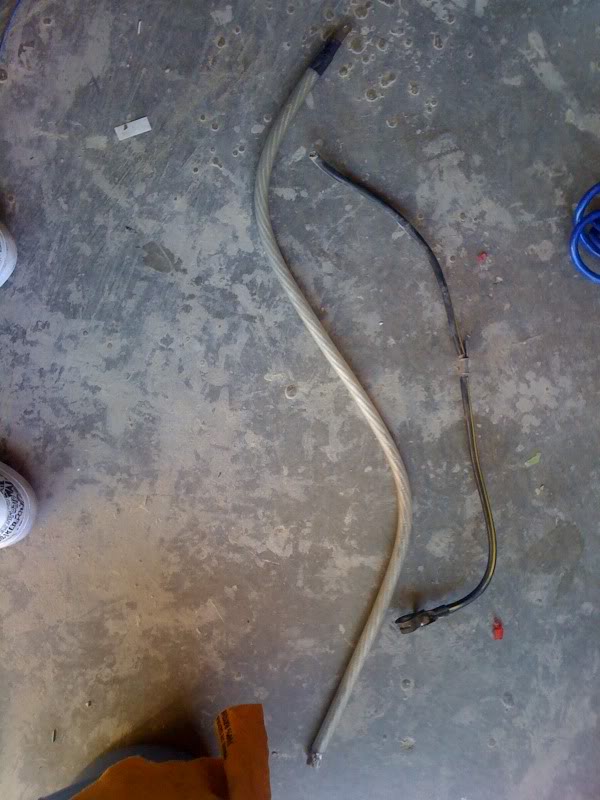
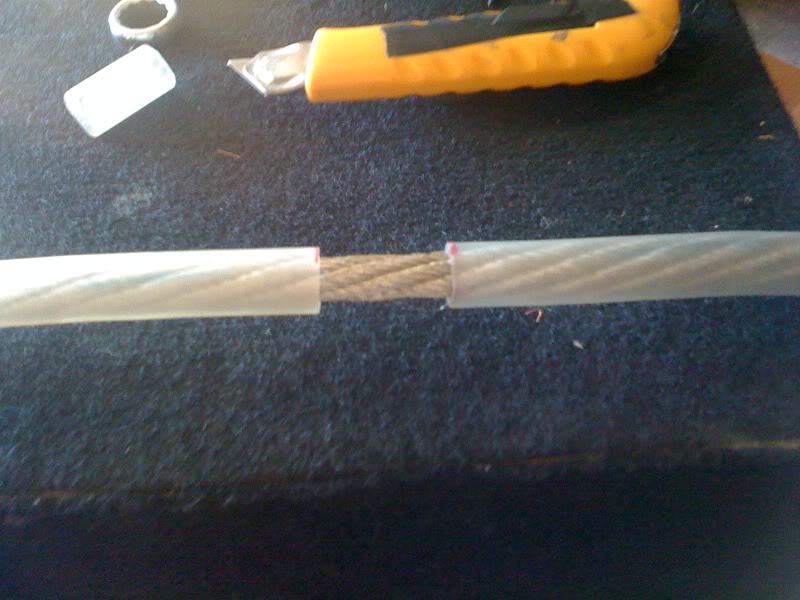
cut a chunk of the insulation off the wire just less the half way down the cable.
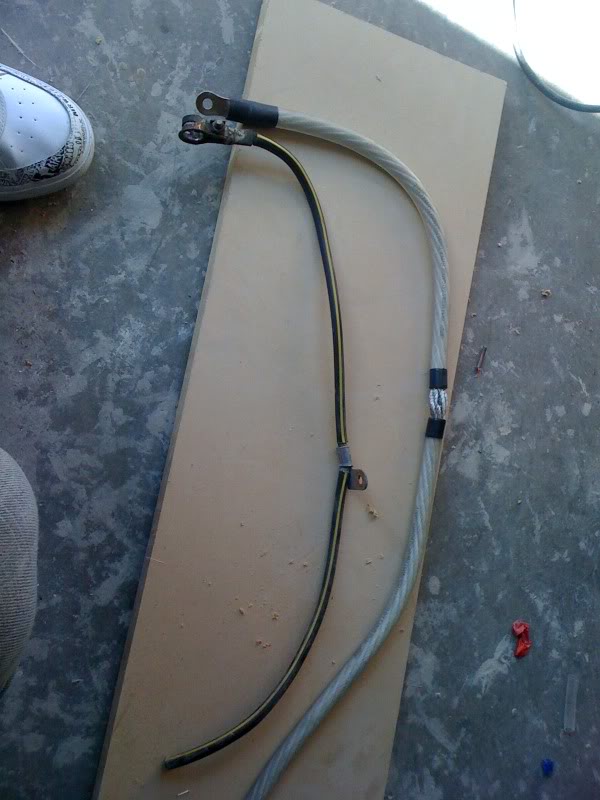
add a big washer and bolt
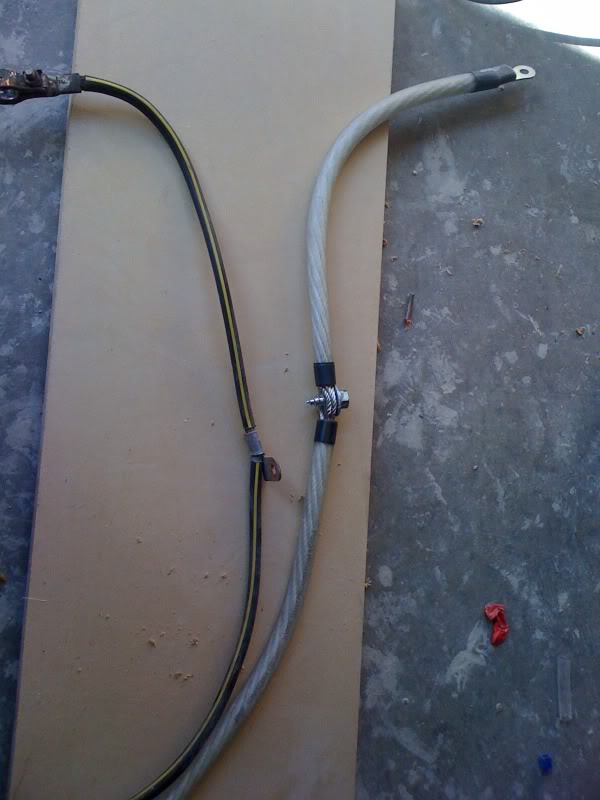
bolt it to the side of the frame directly below the battery box.(make sure you grind away any paint on the frame for a better connection).
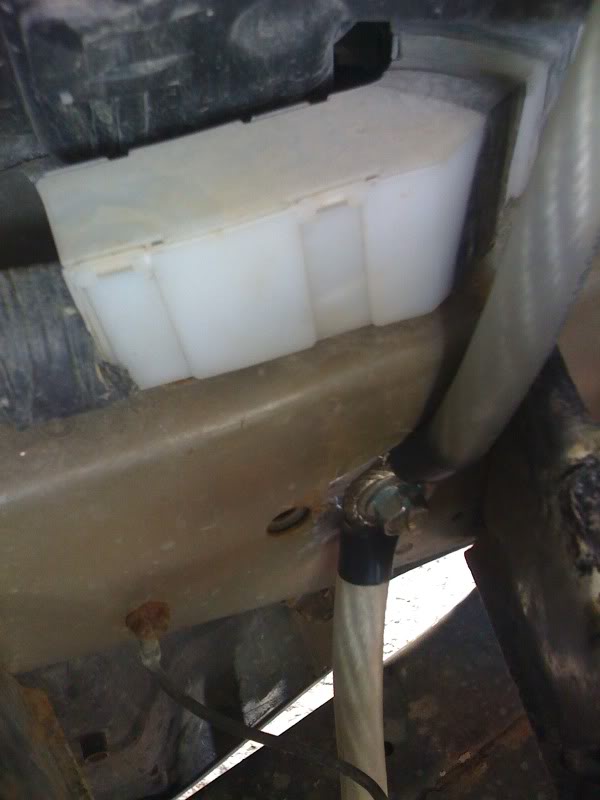

Attach the other end of the ground to the factory engine ground spot.(also remember to grind away any rust or paint)
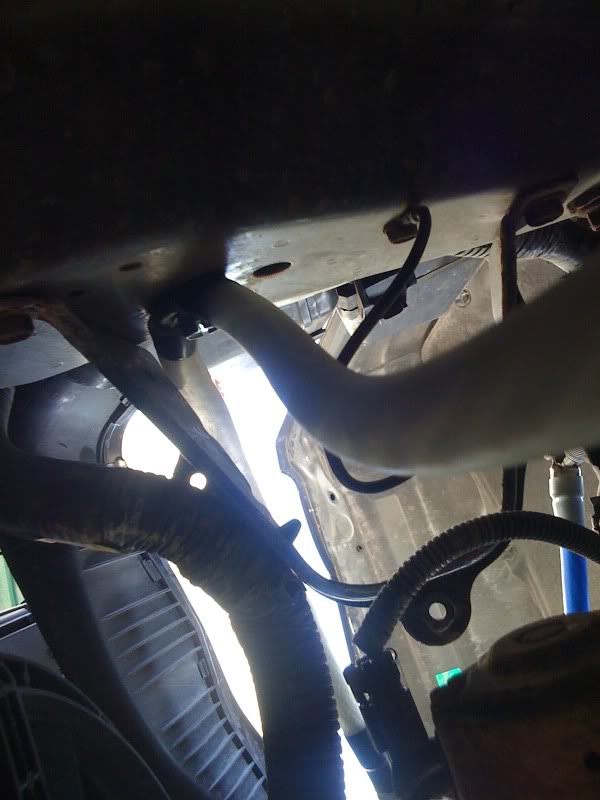
put the battery box and battery back in and put the engine cover back on and neatly strap the power wire to it to keep it off the HOT exhaust manifold.

I know there are allot of people out there that find this topic very confusing so I hope this helps. This info can probably apply to almost any car where the alternator mounts to the front of the engine.
First remove the black plastic engine cover by removing the 4 bolts holding it on.
now you can access the positive terminal of the altimeter.
Connect your positive battery/alternate cable.(use good ring terminals)
remove the battery and tray that sits under the battery to get to the 5 bolts that hold the battery box in place,then remove the battery box.
remove the factory ground from the battery to chassis/engine block
cut a chunk of the insulation off the wire just less the half way down the cable.
add a big washer and bolt
bolt it to the side of the frame directly below the battery box.(make sure you grind away any paint on the frame for a better connection).
Attach the other end of the ground to the factory engine ground spot.(also remember to grind away any rust or paint)
put the battery box and battery back in and put the engine cover back on and neatly strap the power wire to it to keep it off the HOT exhaust manifold.
Thread Starter
50 Watt CAFz'r
Joined: Nov 2008
Posts: 223
Administrator


Joined: Feb 2006
Posts: 16,860
I'm not that sure about the screw through the ground wire. It's a little cheeze and the wires are going to corrode for sure. I'm sure it works fine, but it will be a maintenance point.
Personally, I would cut the cable and use two ring terminals at that junction. In fact on my Hearse that is exactly what I did. You could also find an inline terminal at an electrical supply house. They are referred to as a 'flag terminal'

Personally, I would cut the cable and use two ring terminals at that junction. In fact on my Hearse that is exactly what I did. You could also find an inline terminal at an electrical supply house. They are referred to as a 'flag terminal'
looks fancy, but I think Dukk is right that the wires over time might corrode. I would have suggested grounding at the battery, but I've only ever done the big 3 twice. I guess I should have done a tutorial pre 2001 caravan owners cuz it was a biatch to finish both times. Oh well, maybe if another one comes along.
p.s. anyone ever notice a lot of these tutorials forget one important step...do it while the engine is cold. I mean, its not that important, but I found it helps.
p.s. anyone ever notice a lot of these tutorials forget one important step...do it while the engine is cold. I mean, its not that important, but I found it helps.

Thread Starter
50 Watt CAFz'r
Joined: Nov 2008
Posts: 223
I'm not that sure about the screw through the ground wire. It's a little cheeze and the wires are going to corrode for sure. I'm sure it works fine, but it will be a maintenance point.
Personally, I would cut the cable and use two ring terminals at that junction. In fact on my Hearse that is exactly what I did. You could also find an inline terminal at an electrical supply house. They are referred to as a 'flag terminal'
Personally, I would cut the cable and use two ring terminals at that junction. In fact on my Hearse that is exactly what I did. You could also find an inline terminal at an electrical supply house. They are referred to as a 'flag terminal'
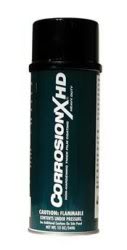
Thanks for reminding me. That is one thing I forgot to mention. That ground spot and all other connection points were sprayed with CorrosionX. Its a anti corrosion spray. Ive used it for years on all my installs. However I have always used the 3M anti corrosion spray in the past. Only started using this stuff few years ago.
The reason I did not use a flag terminal is because my local electrical supply house does not carry 0 gauge flag terminals.Plus a heavy duty bolt in the side of the frame with a shot of anti corrosion spray is better then any crimped connector.(in my opinion)
looks fancy, but I think Dukk is right that the wires over time might corrode. I would have suggested grounding at the battery, but I've only ever done the big 3 twice. I guess I should have done a tutorial pre 2001 caravan owners cuz it was a biatch to finish both times. Oh well, maybe if another one comes along.
p.s. anyone ever notice a lot of these tutorials forget one important step...do it while the engine is cold. I mean, its not that important, but I found it helps.
p.s. anyone ever notice a lot of these tutorials forget one important step...do it while the engine is cold. I mean, its not that important, but I found it helps.
It is grounded at the battery. the (-) from the battery is only about 10 inches long before it bolts to the frame.
Also is reminding people to wait till the engine is cooled down necessary? I would assume that sort of thing is kinda obvious. But then again.....
Last edited by mustaine4prez; Sep 23, 2009 at 07:35 PM.


