
First glassed box, for mazda 3

Thread Starter
50 Watt CAFz'r
Joined: Apr 2006
Posts: 359
ok.....got working on another part of the install today. It is part of this box. I won't tell you, but your welcome to the photos and a guess.
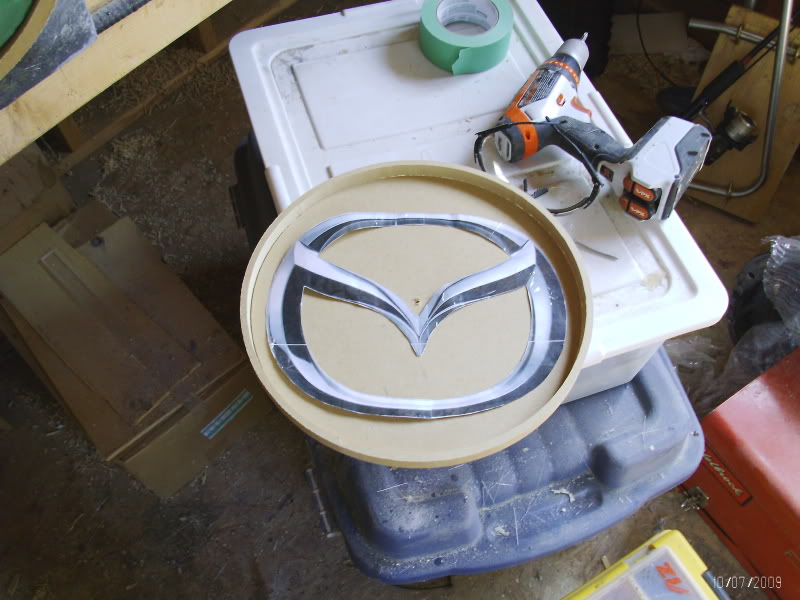
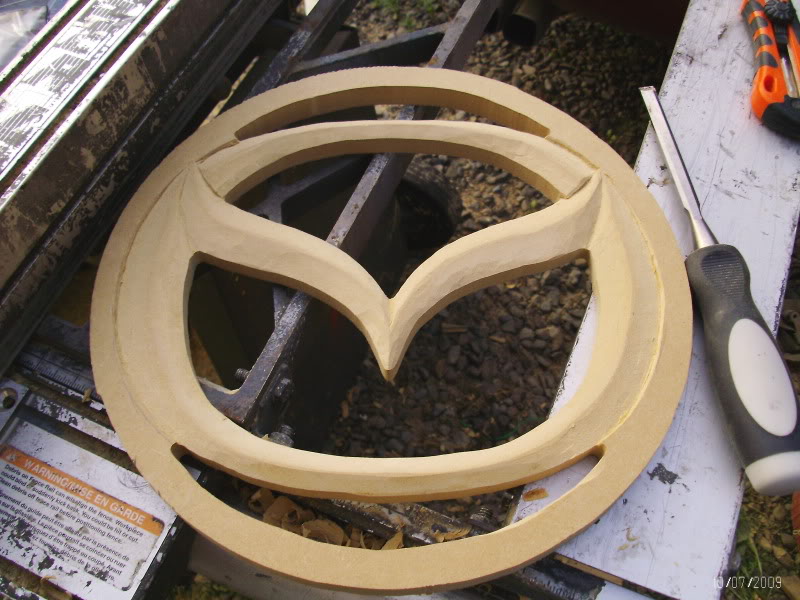
traced out the mazda symbol, cut the bulk of it out with my jig saw, then free handed the rest with my router. Took me awhile, but it turned out pretty good.
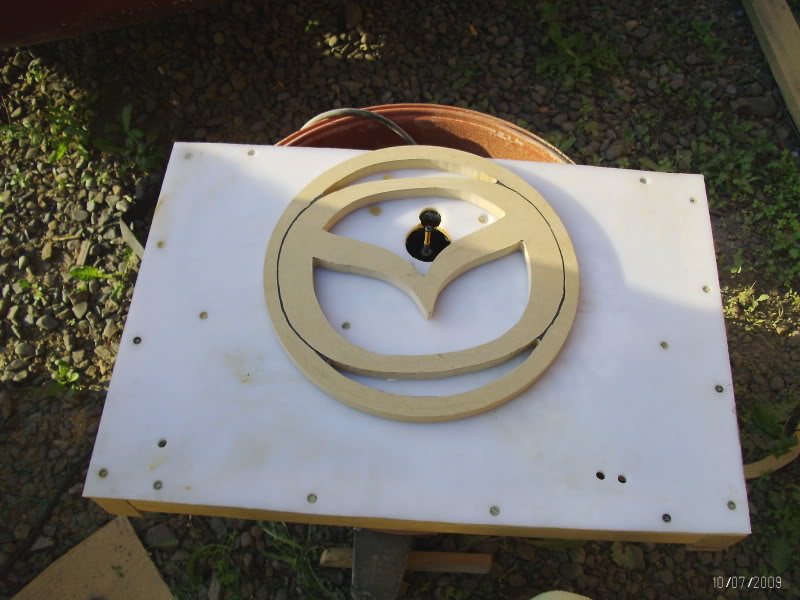
Now to make a duplicate. I put double sided tape on the first cut out, cut the bulk out of the second piece with the Jig sae again. Stuck the 2 together and proceeded to route out the second piece.

Heres the 2 still stuck together.
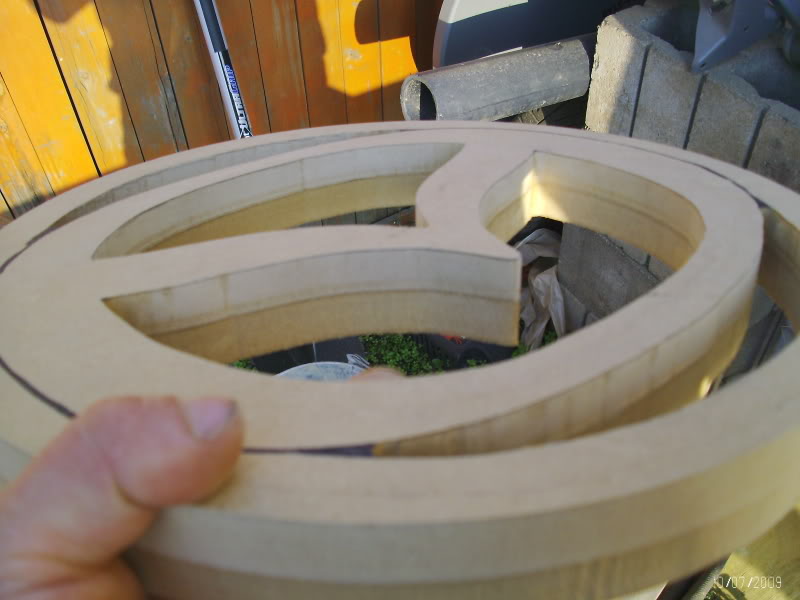
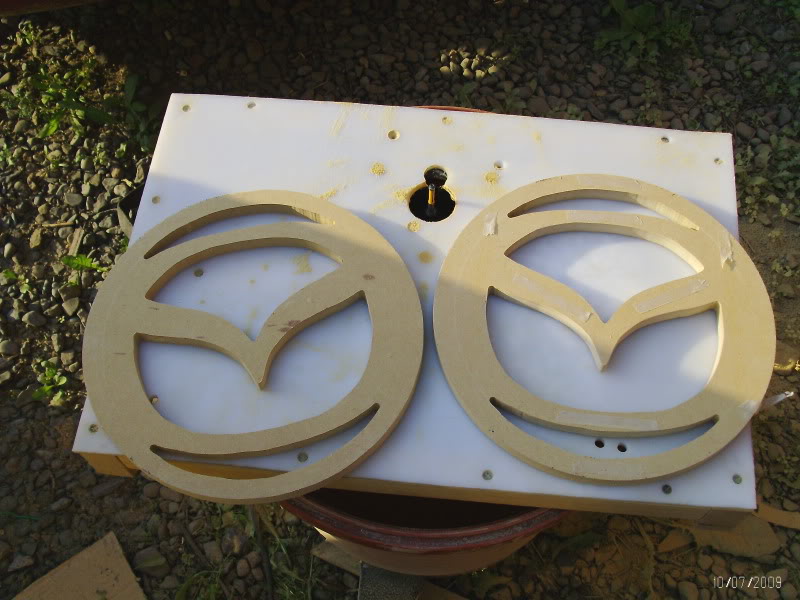
The tape work really well, I had to use a screw driver to pry them apart. Here they are side by side
Now to do some shaping. In the first pic I used my angle grinder withe a sanding disc to get what I could.

Then I proceeded to use a wood chisel and a utility knife for the rest. It's alot of work to use a wood chisel for something like this. Good thing MDF carves easily. I still have to do a little bit of finishing touches and sand, but this is the outcome so far.
Thats it for tonight, it's 9:45 pm and I want to take a brake and play some games. Although thats what I was going to do last night, and ended up going back out at 10 to midnight.....lol
not sure if I'm going to post on here anymore. It doesn't seem like anyone is interested. No one is commenting, suggesting anything or even bashing me. So if anyone wants me to keep posting my build let me know and I'll continue...Otherwise it seems like a waste of time to be doing all these updates for nothing.
Thanks all
traced out the mazda symbol, cut the bulk of it out with my jig saw, then free handed the rest with my router. Took me awhile, but it turned out pretty good.
Now to make a duplicate. I put double sided tape on the first cut out, cut the bulk out of the second piece with the Jig sae again. Stuck the 2 together and proceeded to route out the second piece.
Heres the 2 still stuck together.
The tape work really well, I had to use a screw driver to pry them apart. Here they are side by side
Now to do some shaping. In the first pic I used my angle grinder withe a sanding disc to get what I could.
Then I proceeded to use a wood chisel and a utility knife for the rest. It's alot of work to use a wood chisel for something like this. Good thing MDF carves easily. I still have to do a little bit of finishing touches and sand, but this is the outcome so far.
Thats it for tonight, it's 9:45 pm and I want to take a brake and play some games. Although thats what I was going to do last night, and ended up going back out at 10 to midnight.....lol
not sure if I'm going to post on here anymore. It doesn't seem like anyone is interested. No one is commenting, suggesting anything or even bashing me. So if anyone wants me to keep posting my build let me know and I'll continue...Otherwise it seems like a waste of time to be doing all these updates for nothing.
Thanks all
500 Watt CAFz'r
Joined: Oct 2007
Posts: 519
Dont stop. I've been watching, but not posting anything.
Looks great, though I wish this was on your sunfire so I could get ideas for what to do with mine. (If you remember, I have the exact same car/colour)
How long did that Mazda emblem take to make? Looks just like it logo.
btw, with you sunfire; How much K was on that engine? Mine blew a head gasket at 150K
Thread Starter
50 Watt CAFz'r
Joined: Apr 2006
Posts: 359
Dont stop. I've been watching, but not posting anything.
Looks great, though I wish this was on your sunfire so I could get ideas for what to do with mine. (If you remember, I have the exact same car/colour)
How long did that Mazda emblem take to make? Looks just like it logo.
btw, with you sunfire; How much K was on that engine? Mine blew a head gasket at 150K
Looks great, though I wish this was on your sunfire so I could get ideas for what to do with mine. (If you remember, I have the exact same car/colour)
How long did that Mazda emblem take to make? Looks just like it logo.
btw, with you sunfire; How much K was on that engine? Mine blew a head gasket at 150K
The emblem took me awhile... about 2-2 1/2 hours I think. Thats cutting both of them out as well..now I have to finish the first one and start working on the other one.
Thread Starter
50 Watt CAFz'r
Joined: Apr 2006
Posts: 359
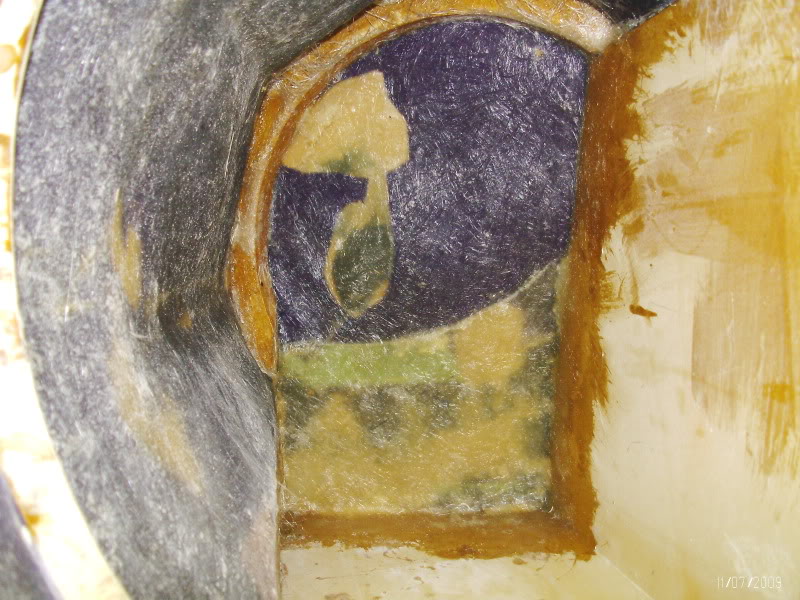
Did some more glassing this morning. I did 2 layers on the rear/inside of the first side this morning...(does that make sense?). It's almost thick enough, I'm thinking that 2 more layers will be enough.
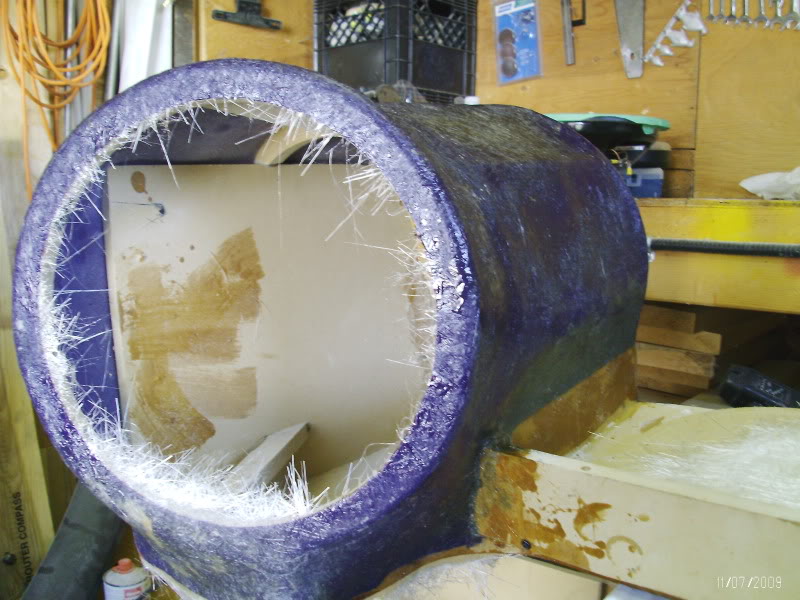
Then I went and did a whole wack more glassing on the second side.

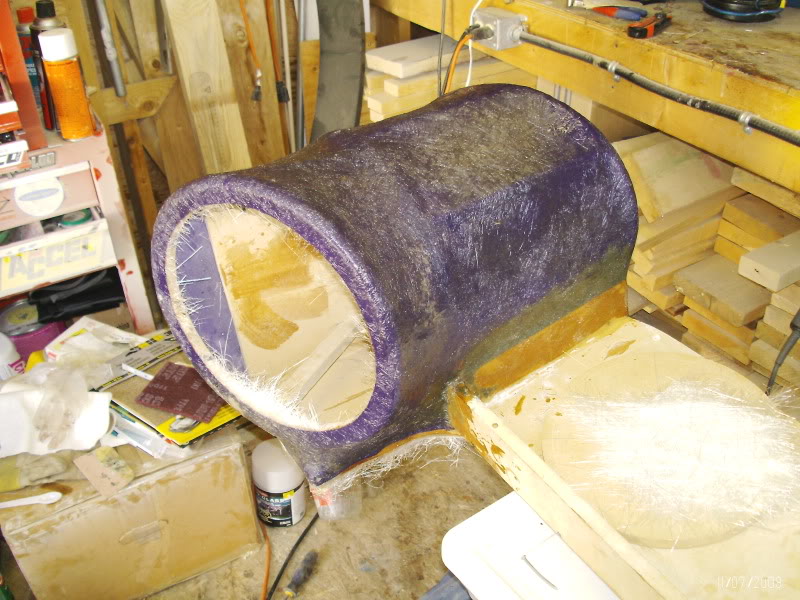
Then I went and did a whole wack more glassing on the second side.
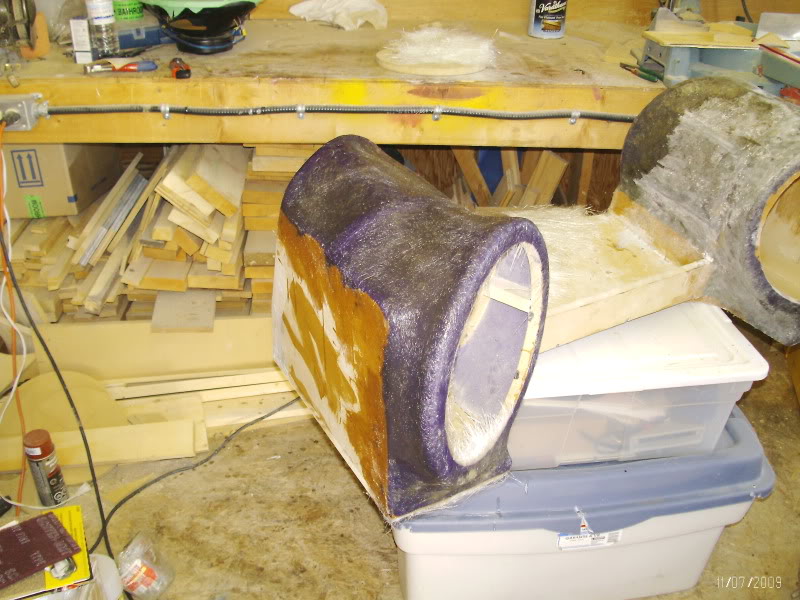
Later today I'll be removing the ribs in the second enclosure. Depending on the time when that is finished I'll be doing a couple layers on the inside. I'm taking my G/F out for dinner and a movie, thats more important then the stereo. If it wasn't for her support I wouldn't be doing this

Thread Starter
50 Watt CAFz'r
Joined: Apr 2006
Posts: 359
well it's just a guessing game when it comes to something like this. to get an exact measurement you have to pour in some packing peanuts or something simular and measure those in a box. Which I have yet to do.
Thread Starter
50 Watt CAFz'r
Joined: Apr 2006
Posts: 359
well here goes...admins, go ahead and move this post if you feel the need, this post has kinda turned into an installation post.
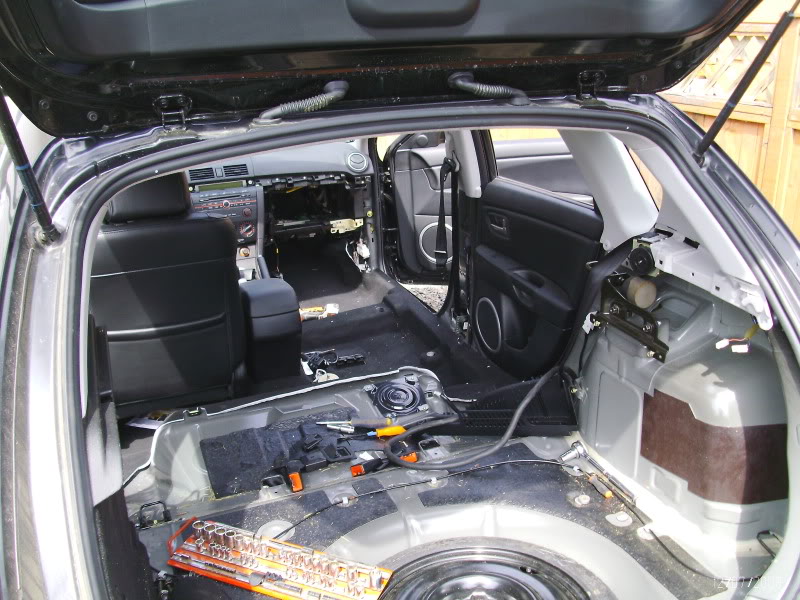
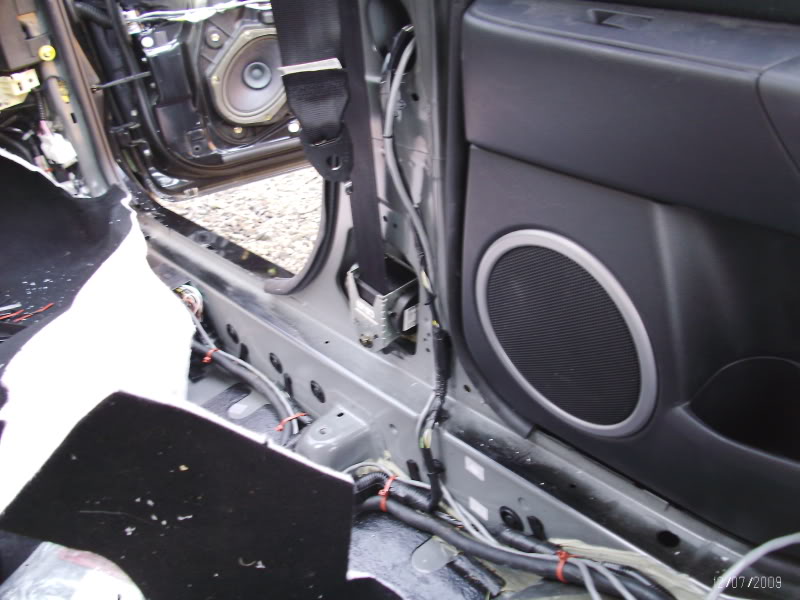
this is the wiring that I started the other day. Ran my 1/0 power wire down the passanger side of the vehicle, as well as the speaker wires for the passanger side doors.
first pic is the car torn apart, except the doors
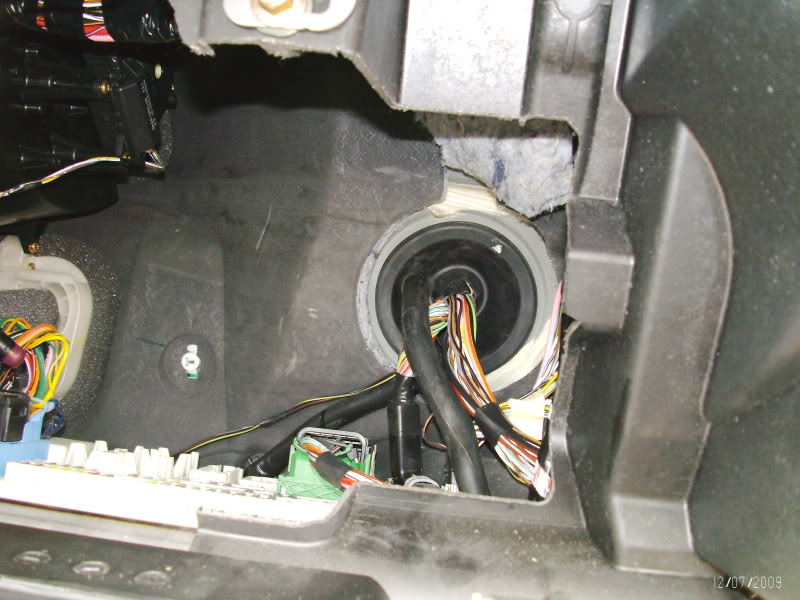
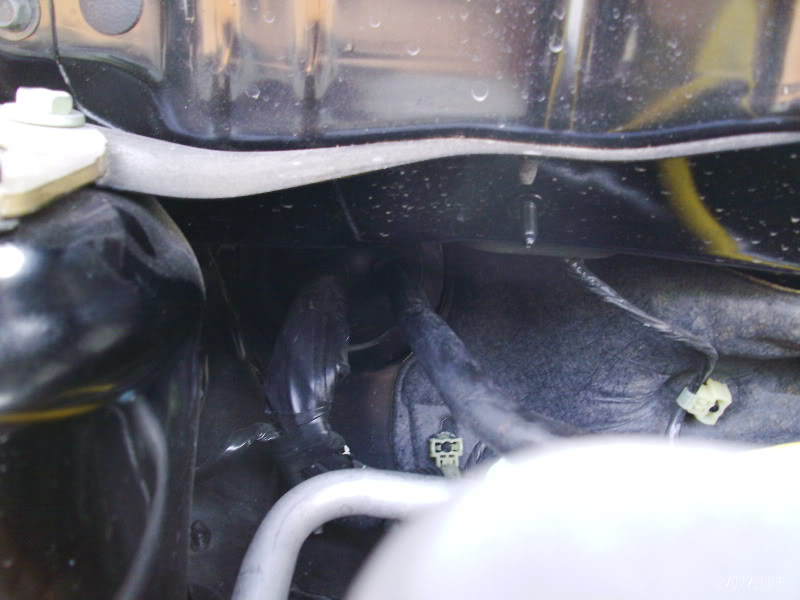
Power wire was really easy to get through the fire wall, just had to take the glove box off and thats where the factory harness runs. first pic is from inside the car, second is from under the hood.
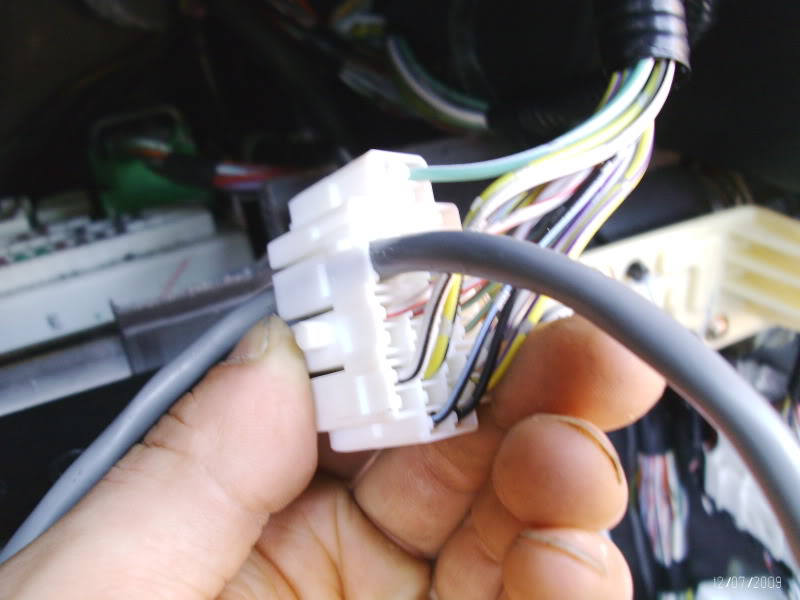
door looms were a pain in the butt to get wire through. there are 2 piece plugs that plug into each other threw the car. I had to drill holes through these plugs, luckely there was space.
First the rear door. this is what I had to deal with, in this pic I already have the wire pushed through.
here is the inside plug of the rear door, wire pushed through my drilled hole.

loom assembly half put back together.
and the wire completely run, just waiting for speakers.
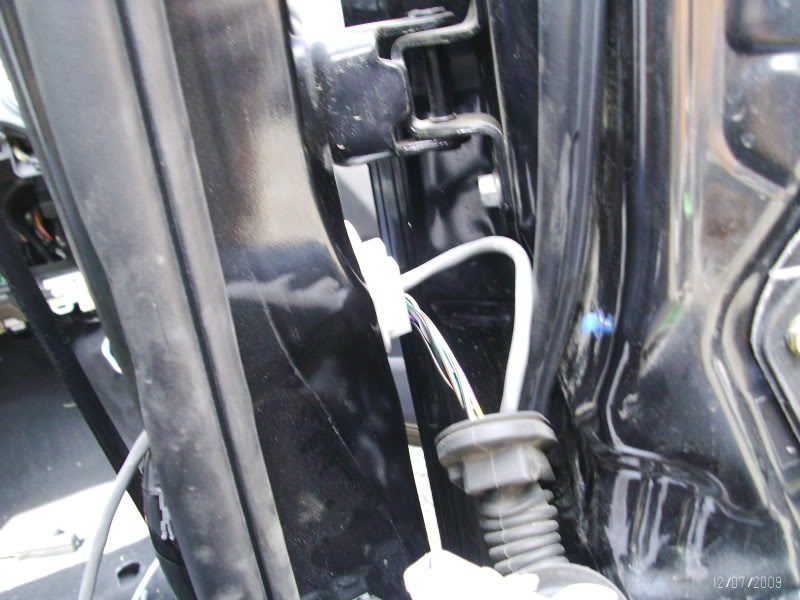
Now to the front, front door was a little different.
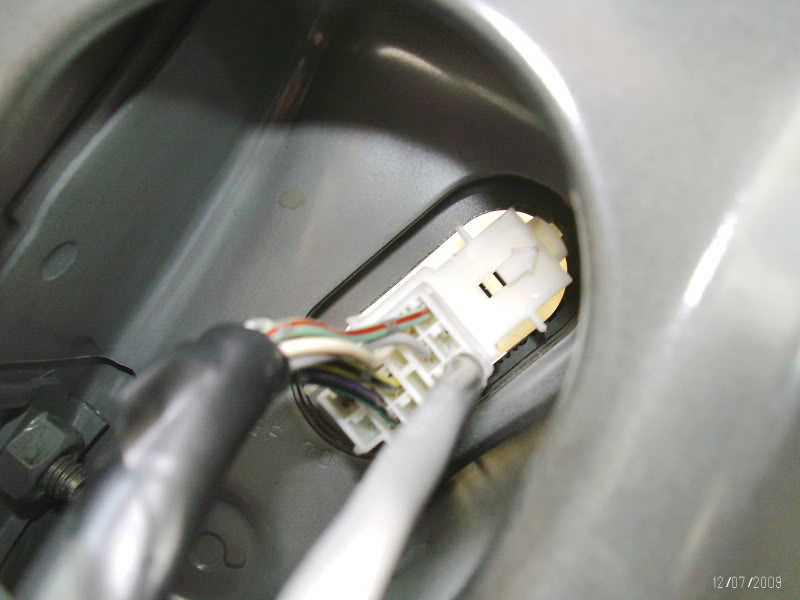
Here is a little better view of what I had to deal with, as you can see, I had to drill right through the plug to get my wire though. this is the inside plug.
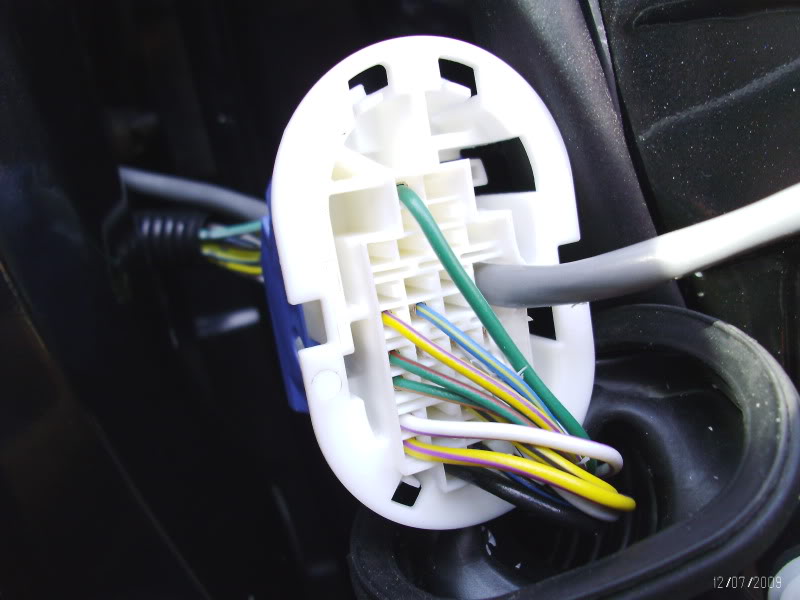
and this is the outside of the plug
and finished wiring waiting for speakers

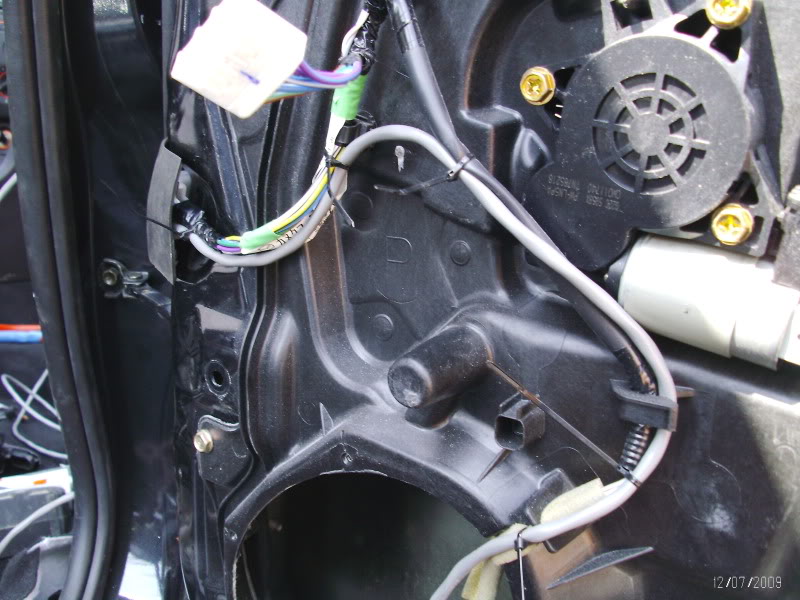
here is my power wire and passanger side speaker wires run and strapped

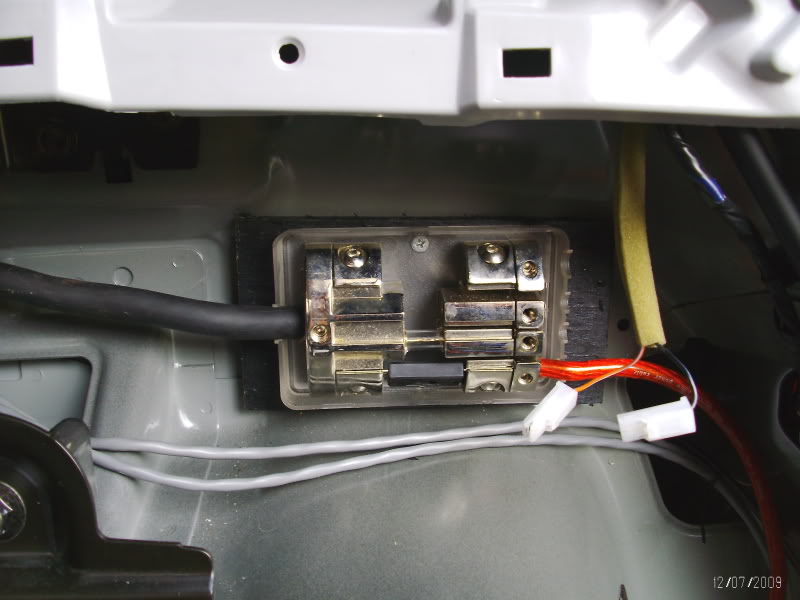
My distro block just in case I ever change things up.
And thats it for now...today I plan on taping the crap out of my car and filling in any gaps that are between the car and the sub enclosure. will post pics of that later.
this is the wiring that I started the other day. Ran my 1/0 power wire down the passanger side of the vehicle, as well as the speaker wires for the passanger side doors.
first pic is the car torn apart, except the doors
Power wire was really easy to get through the fire wall, just had to take the glove box off and thats where the factory harness runs. first pic is from inside the car, second is from under the hood.
door looms were a pain in the butt to get wire through. there are 2 piece plugs that plug into each other threw the car. I had to drill holes through these plugs, luckely there was space.
First the rear door. this is what I had to deal with, in this pic I already have the wire pushed through.
here is the inside plug of the rear door, wire pushed through my drilled hole.
loom assembly half put back together.
and the wire completely run, just waiting for speakers.
Now to the front, front door was a little different.
Here is a little better view of what I had to deal with, as you can see, I had to drill right through the plug to get my wire though. this is the inside plug.
and this is the outside of the plug
and finished wiring waiting for speakers
here is my power wire and passanger side speaker wires run and strapped
My distro block just in case I ever change things up.
And thats it for now...today I plan on taping the crap out of my car and filling in any gaps that are between the car and the sub enclosure. will post pics of that later.


Thread Starter
50 Watt CAFz'r
Joined: Apr 2006
Posts: 359
sorry to keep you guys in the dark for a couple days, I haven't had alot of time to work on the enclosure. Well partially I was waiting for the foam to set completely, plus I went fishing yesturday after work.
anyhow,
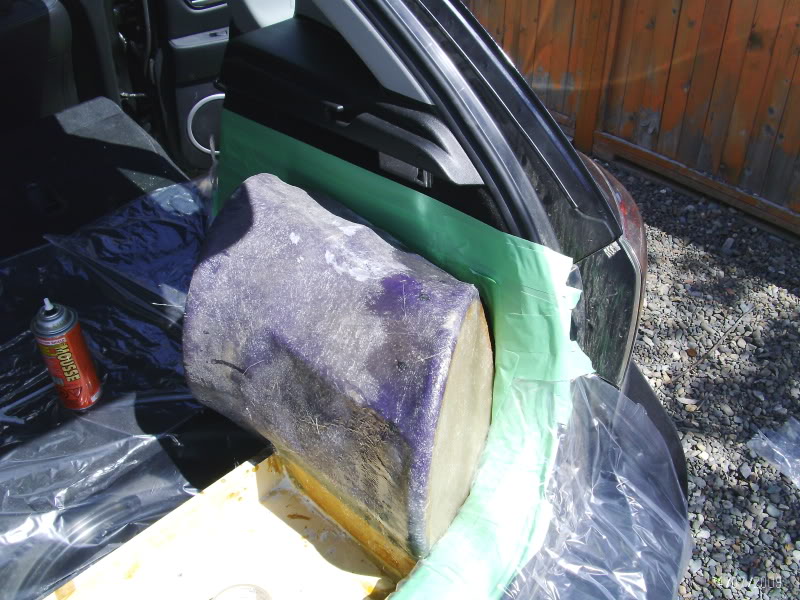
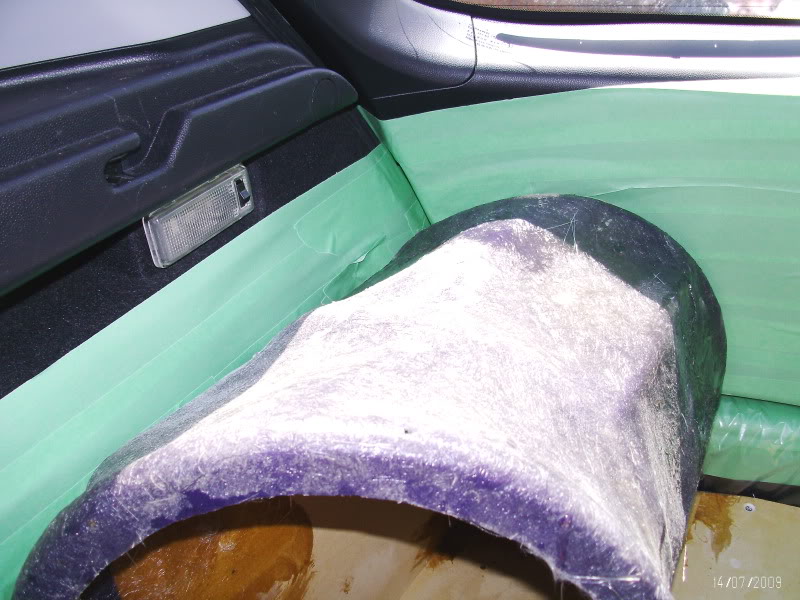
you know how I had the rear of my car all taped up. Well, I just filled the gaps with spray foam, then pulled the whole thing out. I tried shaping it, but I had no guide lines to go by, and to make a long story short, it was looking like crap and ended up riping all the foam off to try a different aproach.
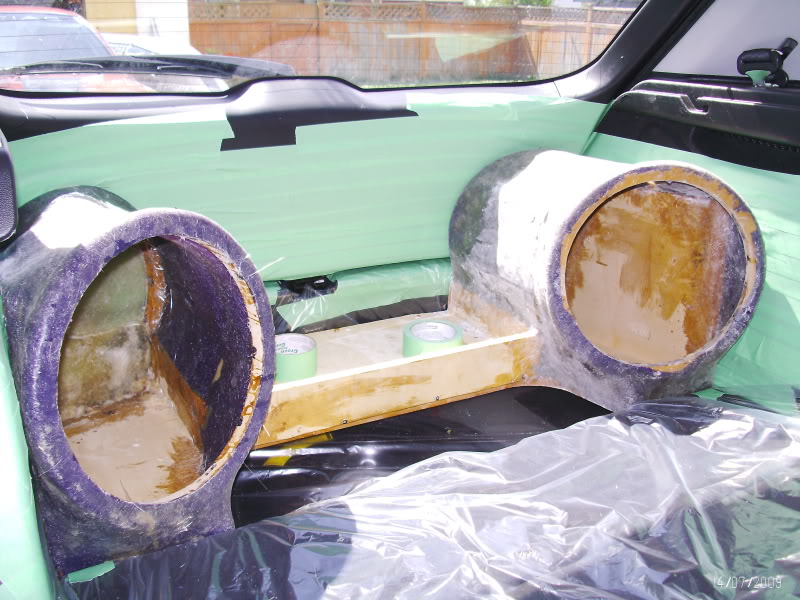
First I stuck the enclosure back into my car. Then I took stips of thin cardboard and glued them to the box outlining the edges of the trunk, leaving about 3/16" space so that I would have space for my filler, glass then carpet over top of my foam layer.
Here's a quick pic,
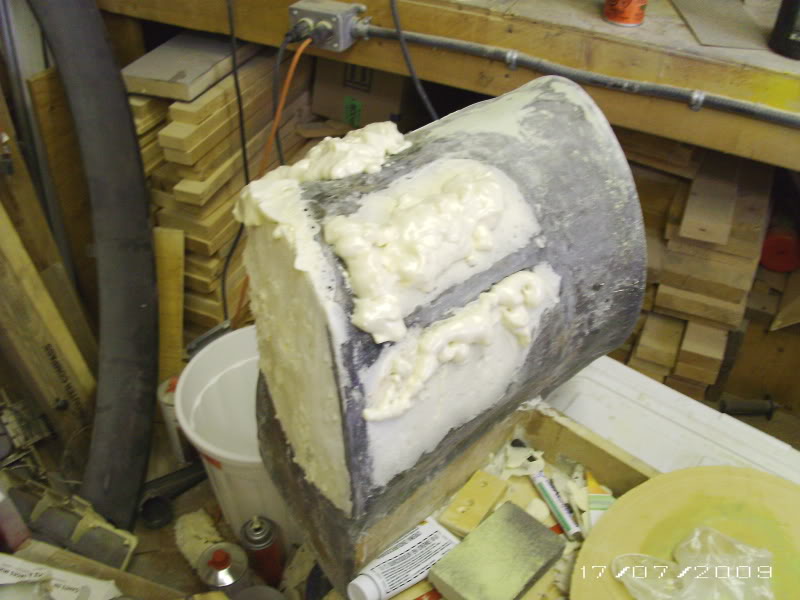
I then removed the enclosure out of the car and resprayed everything with foam. Here you can see that I had shaved alot of the foam using my cardboard as a guide. Also you can see that I have sprayed foam to fill any airbubbles and low spots. Sorry, I didn't take many pics this time around.
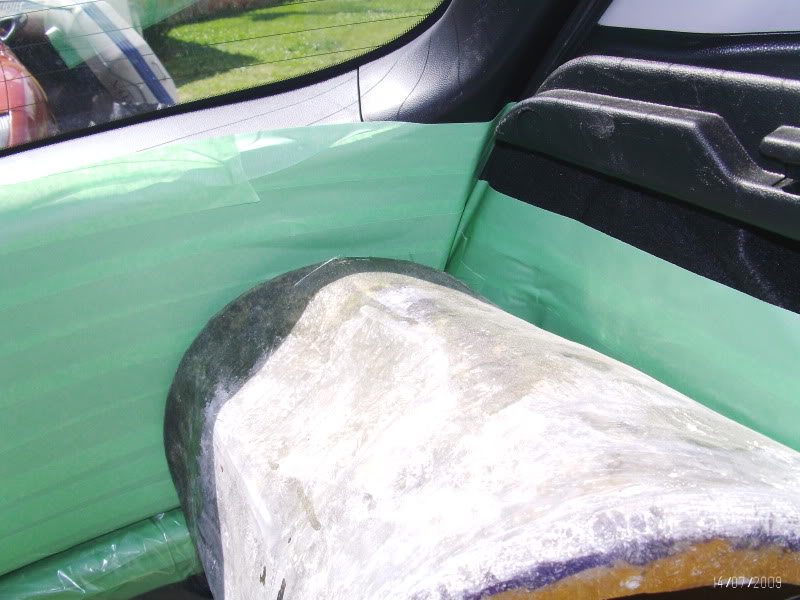
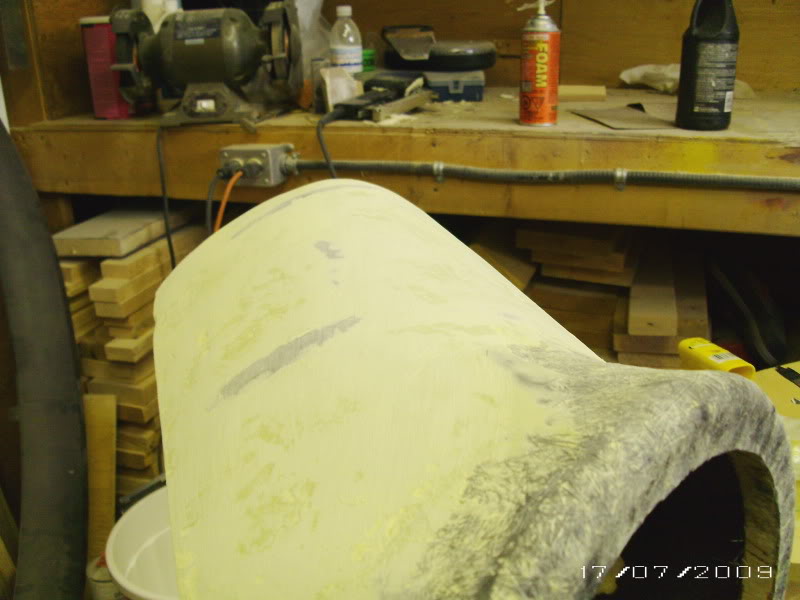
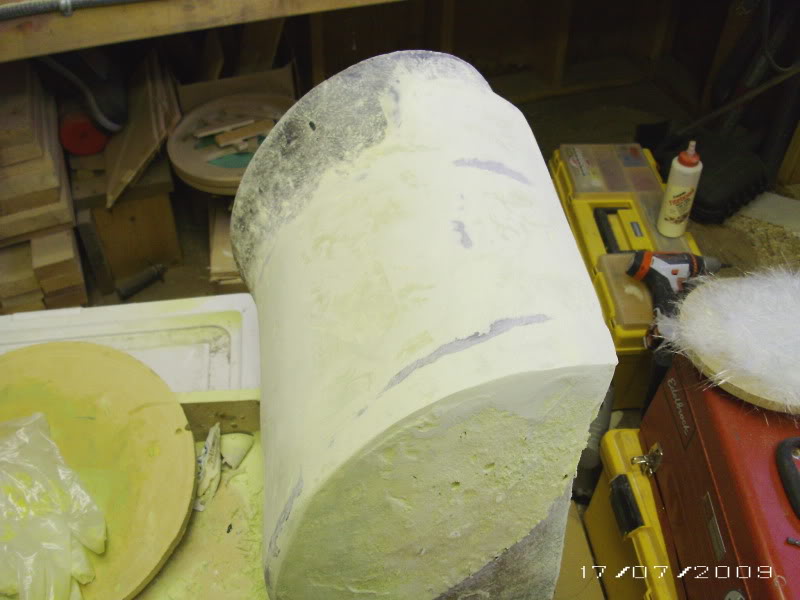
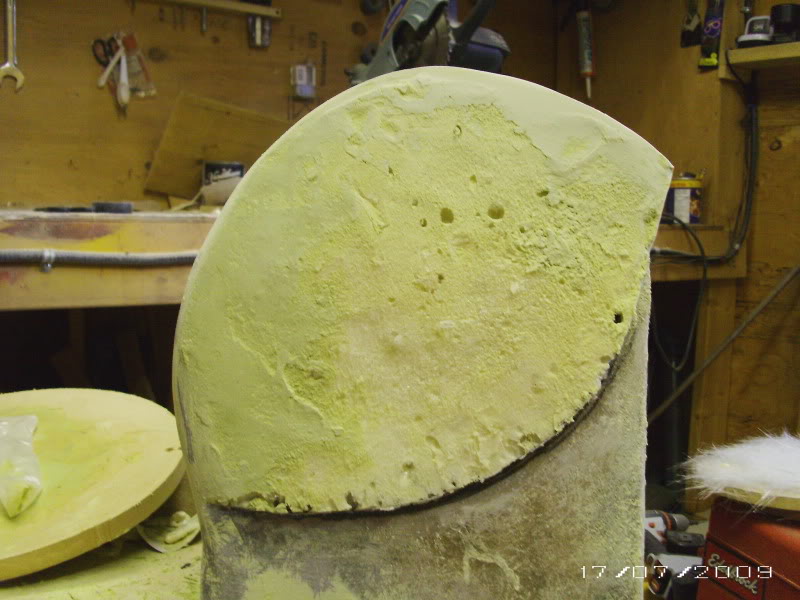
These next set of photos are of the other side all shaved up with filler and sanded, good and ready for me to put 2 layers of glass over top.

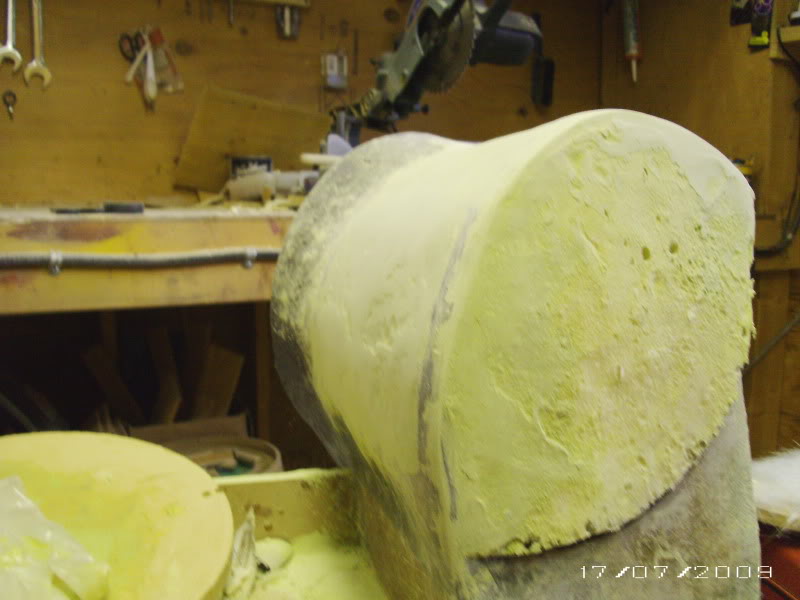
I haven't cover the rear yet because I wanted to double check my shave job in the car. I kinda have a felling that I'll have to take a little more off the back. Hopefully I'll get to that tomorrow.
anyhow,
you know how I had the rear of my car all taped up. Well, I just filled the gaps with spray foam, then pulled the whole thing out. I tried shaping it, but I had no guide lines to go by, and to make a long story short, it was looking like crap and ended up riping all the foam off to try a different aproach.
First I stuck the enclosure back into my car. Then I took stips of thin cardboard and glued them to the box outlining the edges of the trunk, leaving about 3/16" space so that I would have space for my filler, glass then carpet over top of my foam layer.
Here's a quick pic,
I then removed the enclosure out of the car and resprayed everything with foam. Here you can see that I had shaved alot of the foam using my cardboard as a guide. Also you can see that I have sprayed foam to fill any airbubbles and low spots. Sorry, I didn't take many pics this time around.
These next set of photos are of the other side all shaved up with filler and sanded, good and ready for me to put 2 layers of glass over top.
I haven't cover the rear yet because I wanted to double check my shave job in the car. I kinda have a felling that I'll have to take a little more off the back. Hopefully I'll get to that tomorrow.
Last edited by scroudt111; Jul 18, 2009 at 12:05 AM.


